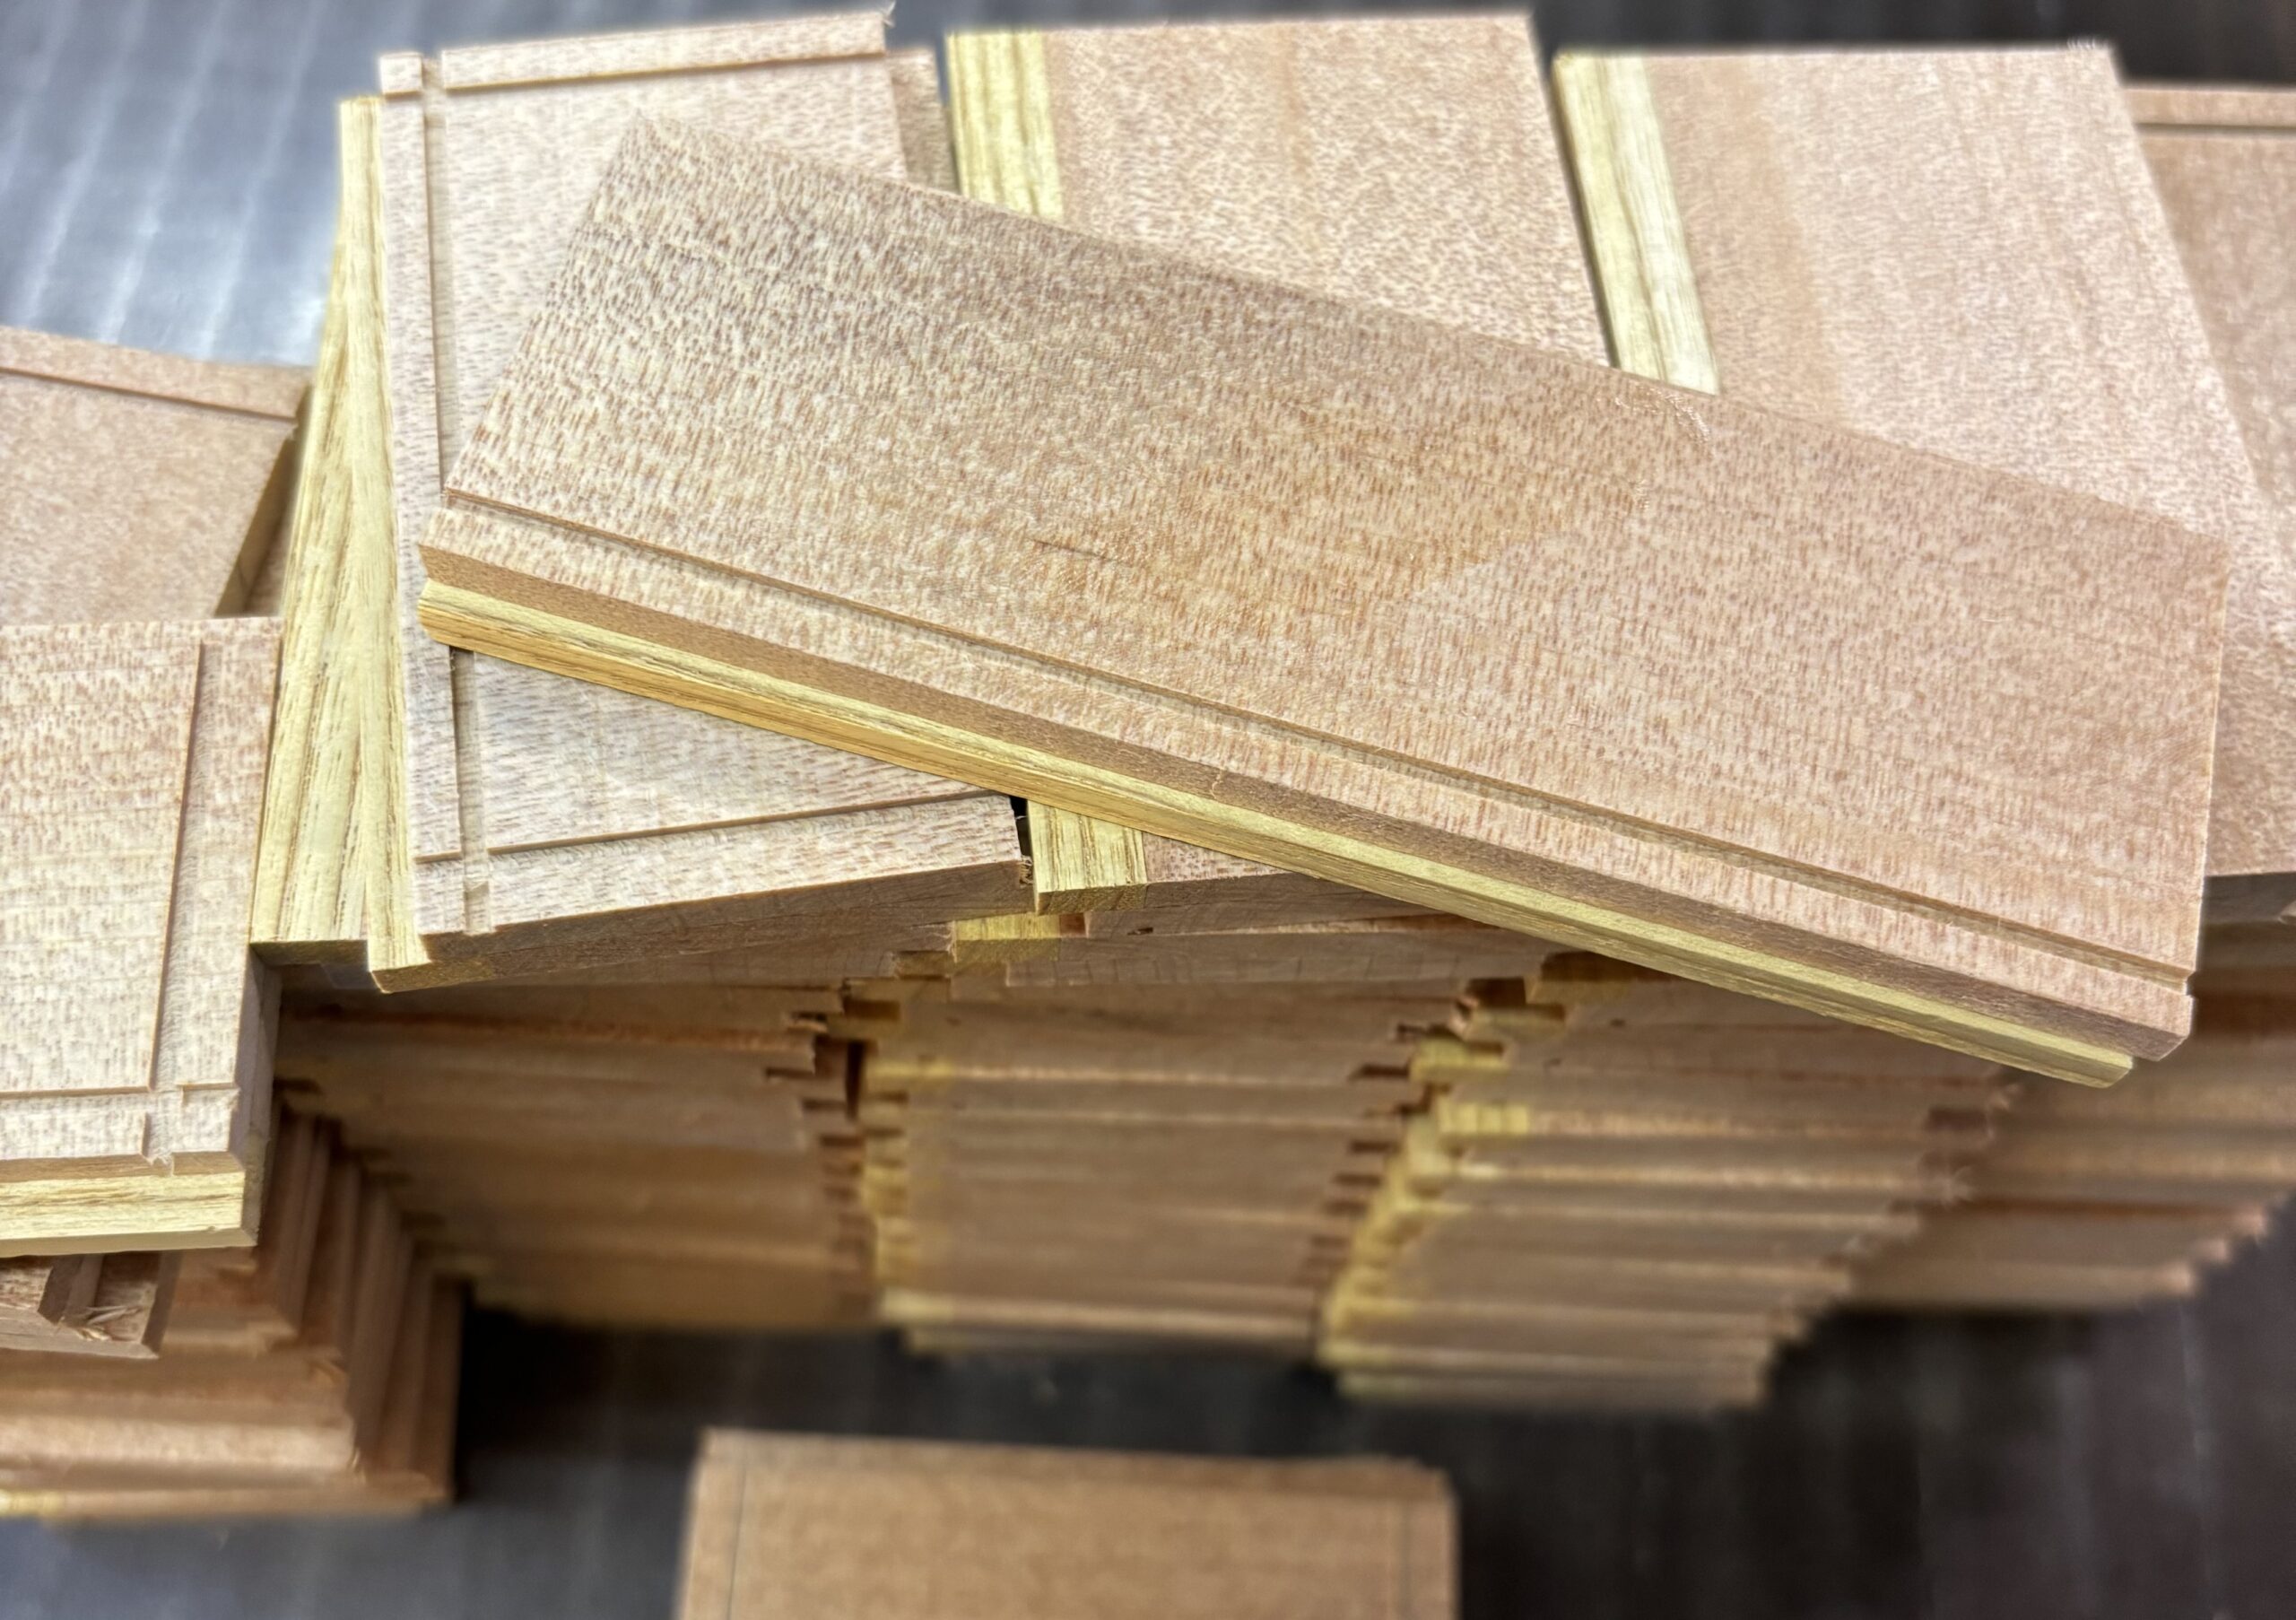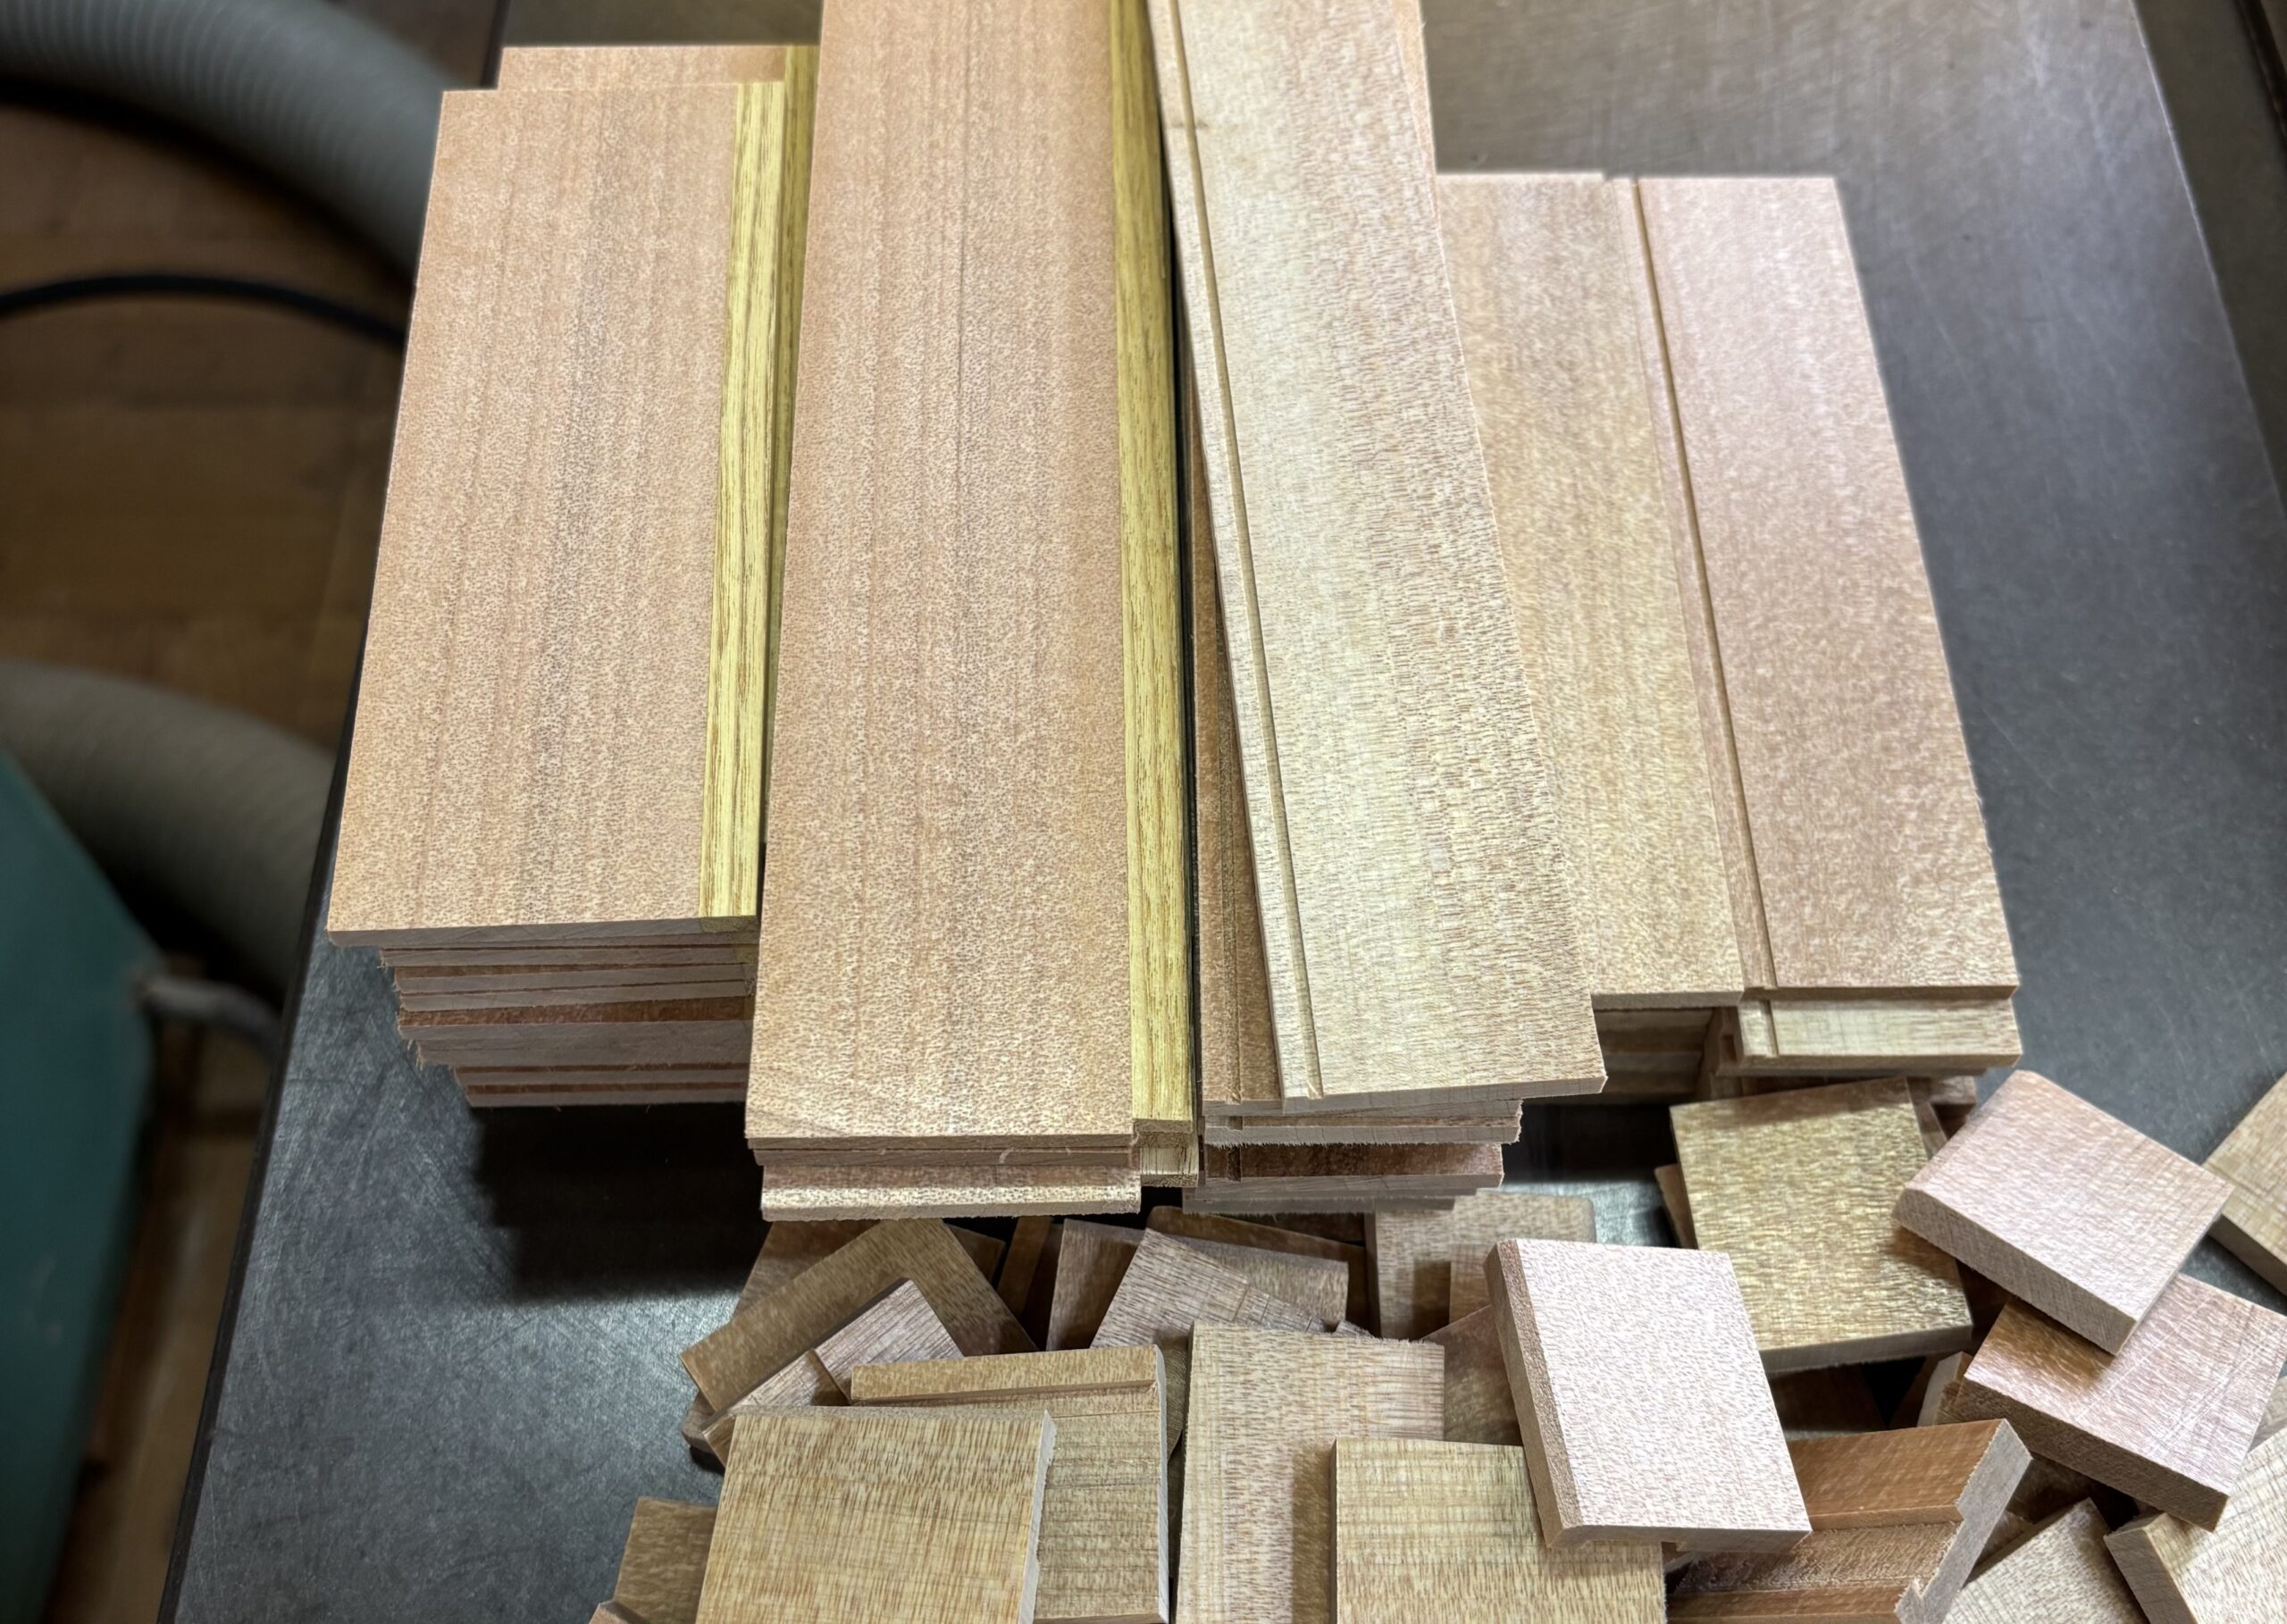
Today started with cloudy skies, and around noon it rained a little. The rain has already stopped now, but the humidity became very high, reaching around 80–90%. In these conditions, it is not possible to work on the moving parts of Japanese puzzle boxes. Fortunately (?), today did not include that kind of process, so instead I worked on preparation for the next production, making parts, and applying the finishing coat to the 4-sun puzzle boxes.
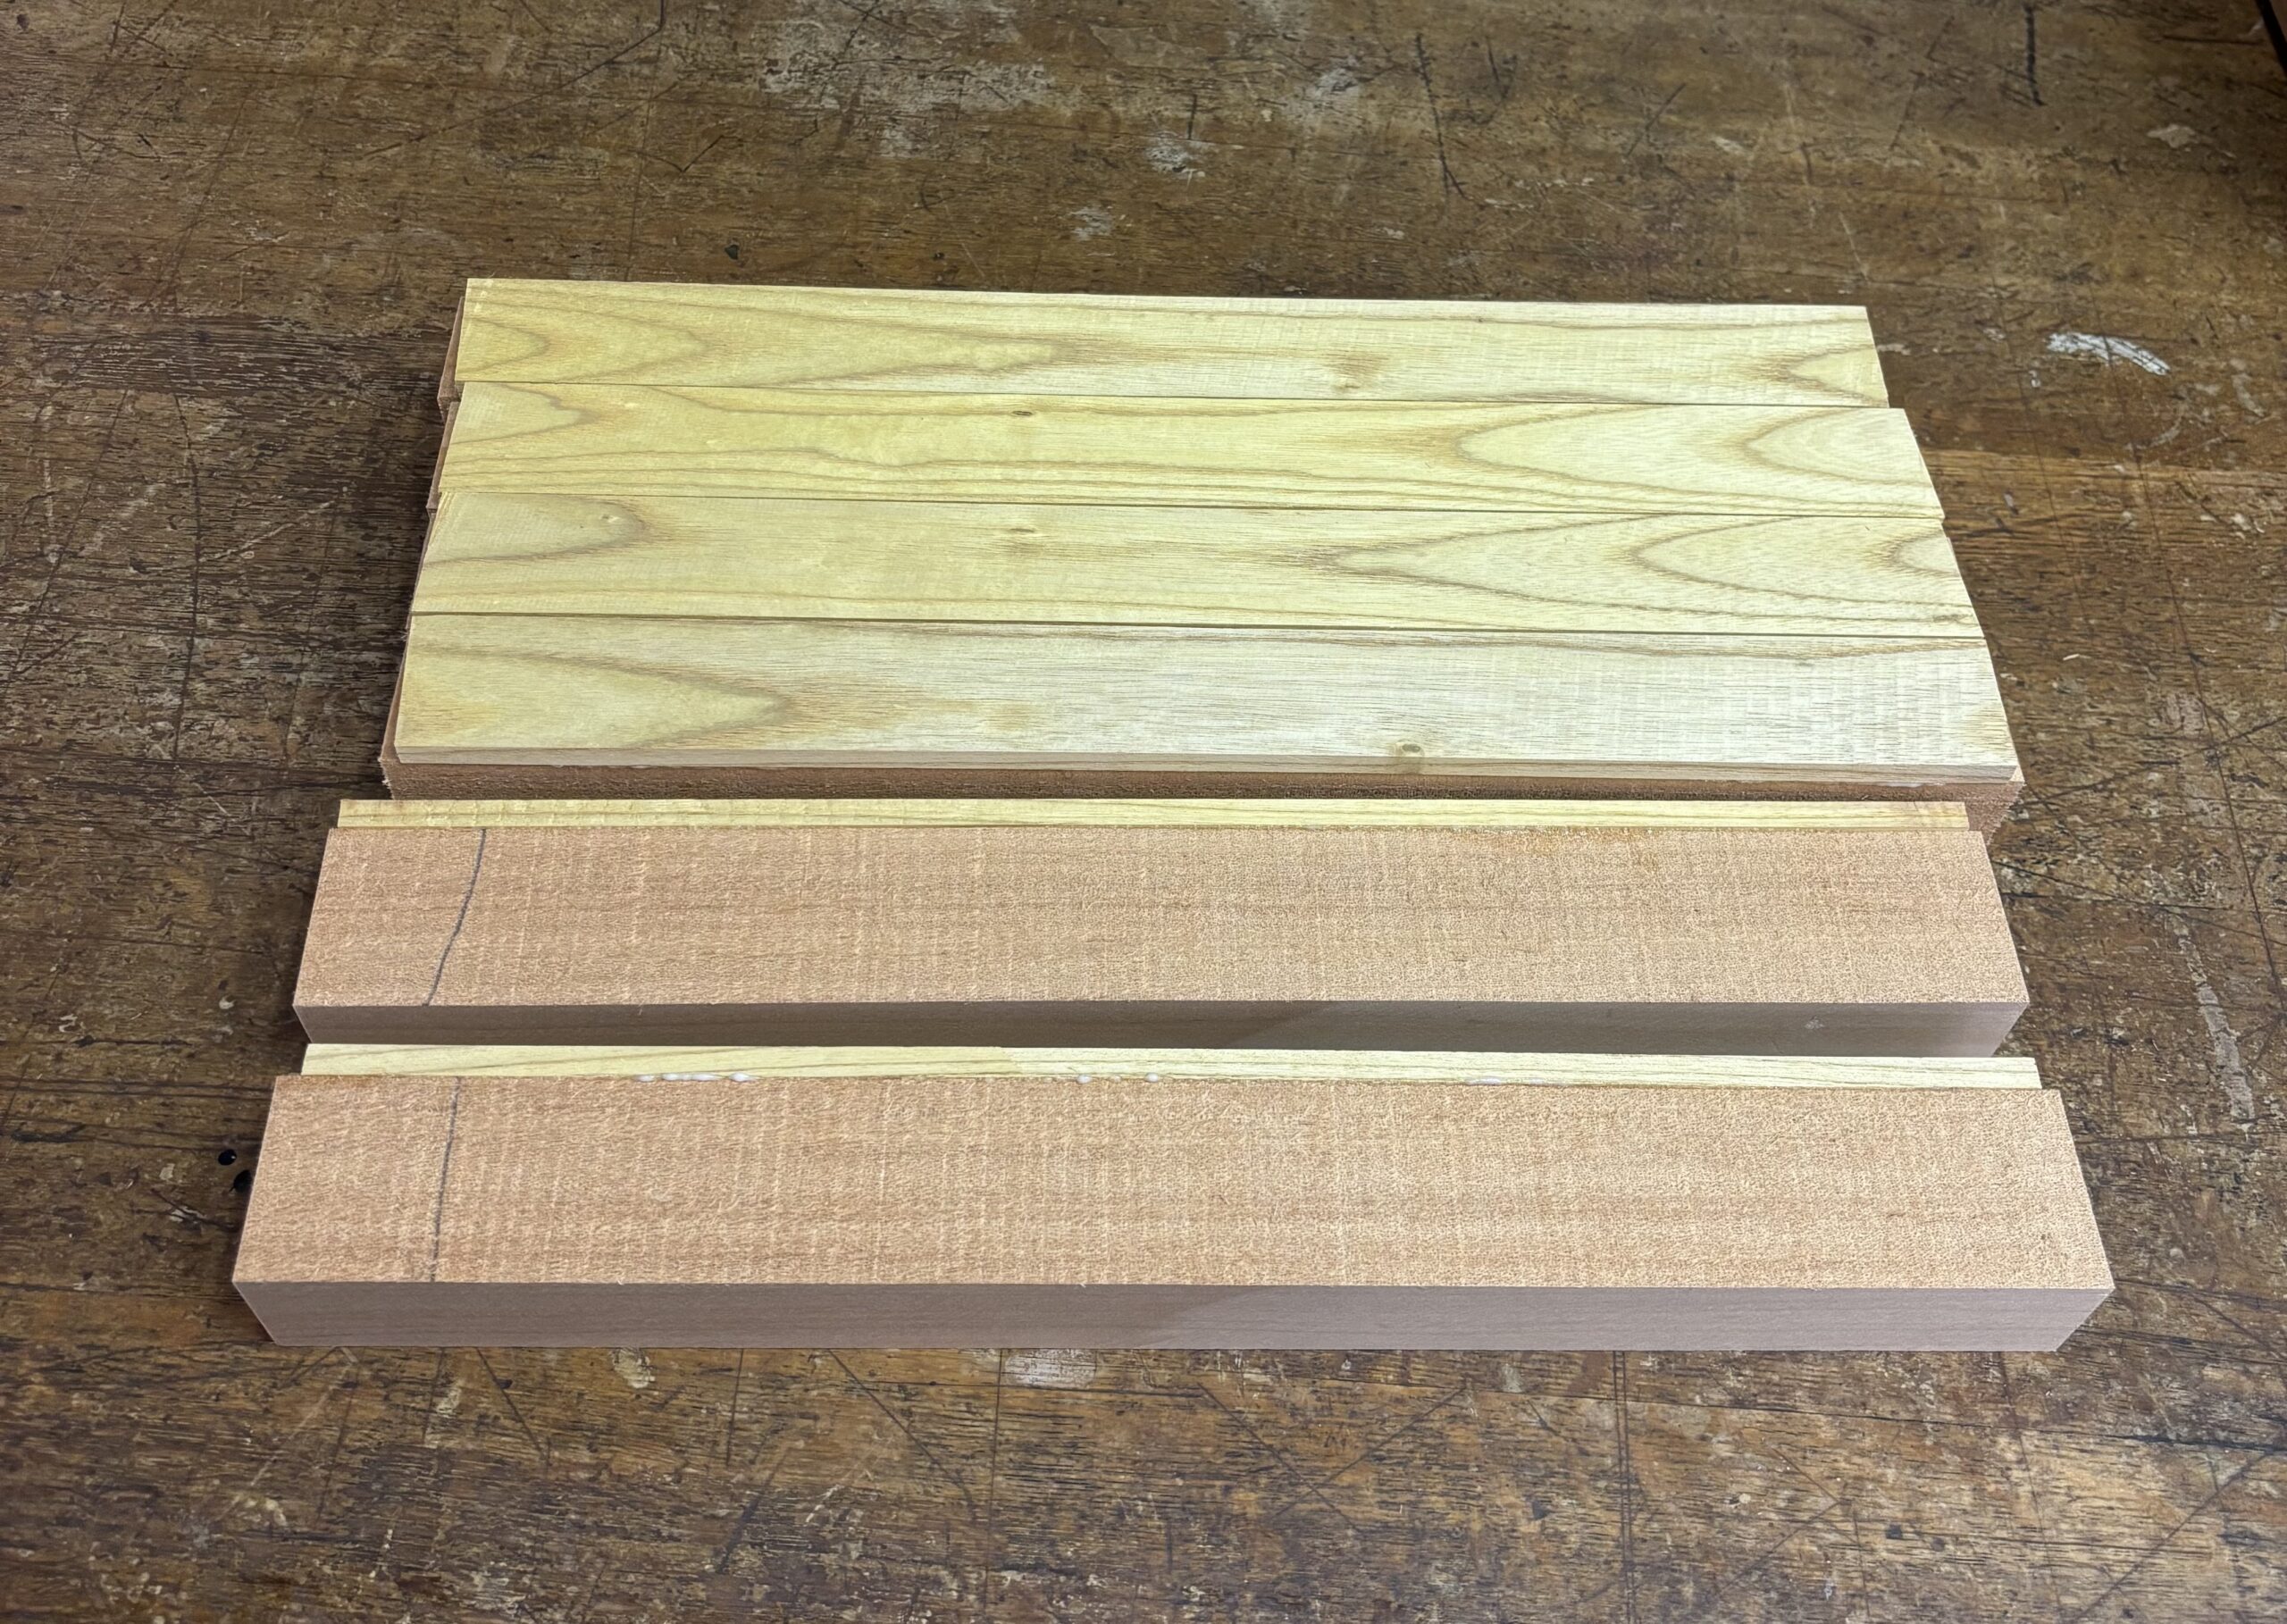
The large custom puzzle boxes planned for production still need a little more time for the yosegi panels to dry, so today I worked on preparing the materials for the 2.5-sun puzzle boxes, preparing the side panels, and making the axis panels. As I wrote yesterday, the 2.5-sun puzzle boxes have a line on the upper side of the side panels, so the preparation of these side panels must be done with care. In the end, I decided to cut the boards into smaller pieces before gluing them, as shown in the photo. The boards in the photo are for two and three long side panels. I glue the inner and outer boards together and hold them with a vise. When they are held with the vise, strong pressure is applied, so the two boards can easily shift. Smaller boards like this are less likely to shift than long boards. You can also see the axis panels in the photo. This box has different specifications for the left and right axis panels, so I need to be careful. It is a puzzle box with a sliding key on only one side. In other words, one axis panel is processed for the sliding key, while the other one is not. However, even though one side is not processed for the sliding key, it does not mean that it is fixed like a 7-step puzzle box. The Aruki sliding panel is also attached on that side, and the mechanism still moves. That side has a structure without a sliding key, almost like a 4-step puzzle box.
This puzzle box is a 5-step puzzle, but when only three panels move, it cannot become a 5-step puzzle unless a sliding key is added to one side. When I thought about which side to attach it to, I realized it would be difficult to place it on the Aruki panel that moves last. The reason is that the side Aruki panel that opens must move down far enough for the lid to slide, so it requires a larger movement. Because of this, the height of that Aruki panel becomes smaller. If I cut a groove for the sliding key into such a short panel, the glued area becomes very small and the strength is also greatly reduced. This would be possible on a larger puzzle box, but this box is only about 42 mm high. On the other hand, the other Aruki panel only needs to move down by one step, just enough for the yosegi top panel to slide out by about 3–4 mm. That allows more height for the panel. As a result, the sliding key naturally had to be attached to that side.
I designed this puzzle box when I was around 30 years old and still had little experience making Japanese puzzle boxes, so when I think about it now, it feels a little surprising 😅 But in the end, I think it was actually a very natural design choice. At that time, I had not yet made many different kinds of puzzle boxes, so that may be why I created this somewhat unusual 5-step mechanism. Even now, if I were to make a box of this size, it would still be difficult to include a mechanism with a very large number of steps. As a variation, there was also a period when I made 10-step puzzle boxes in this size. However, when sold as a nested box, it felt like the outer box had a mechanism with too many steps, so I only made them for a short time.