Even though today is Saturday, I came to the workshop and worked from the morning. Since yesterday, the temperature has been a little lower, but today it was even cooler and only reached 18°C. A few days ago, it was over 30°C, so the temperature difference has been very large. This time of year can make it difficult to take care of our health.
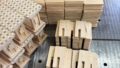
Today, I first adjusted the 5-sun 10-step puzzle boxes with drawers that were finished yesterday. Then I completed the drawers and fitted them into each puzzle box. This photo shows the process of making the drawers. There are two final steps in making these drawers. One is shaping the lid, and the other is attaching a handle (a small round wooden knob) to the front. The lid panels are first prepared as one large board and lightly coated. Usually, the finishing process for the puzzle boxes starts with an undercoat, which is then polished, and after that, the final coat is applied. When the final coat is finished, only light dust removal is needed before the box is complete. At the same time as applying the final coat to the boxes, I also apply only the finishing coat to the lid panels. Even a light coating helps protect the wood from dirt and stains.
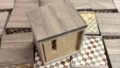
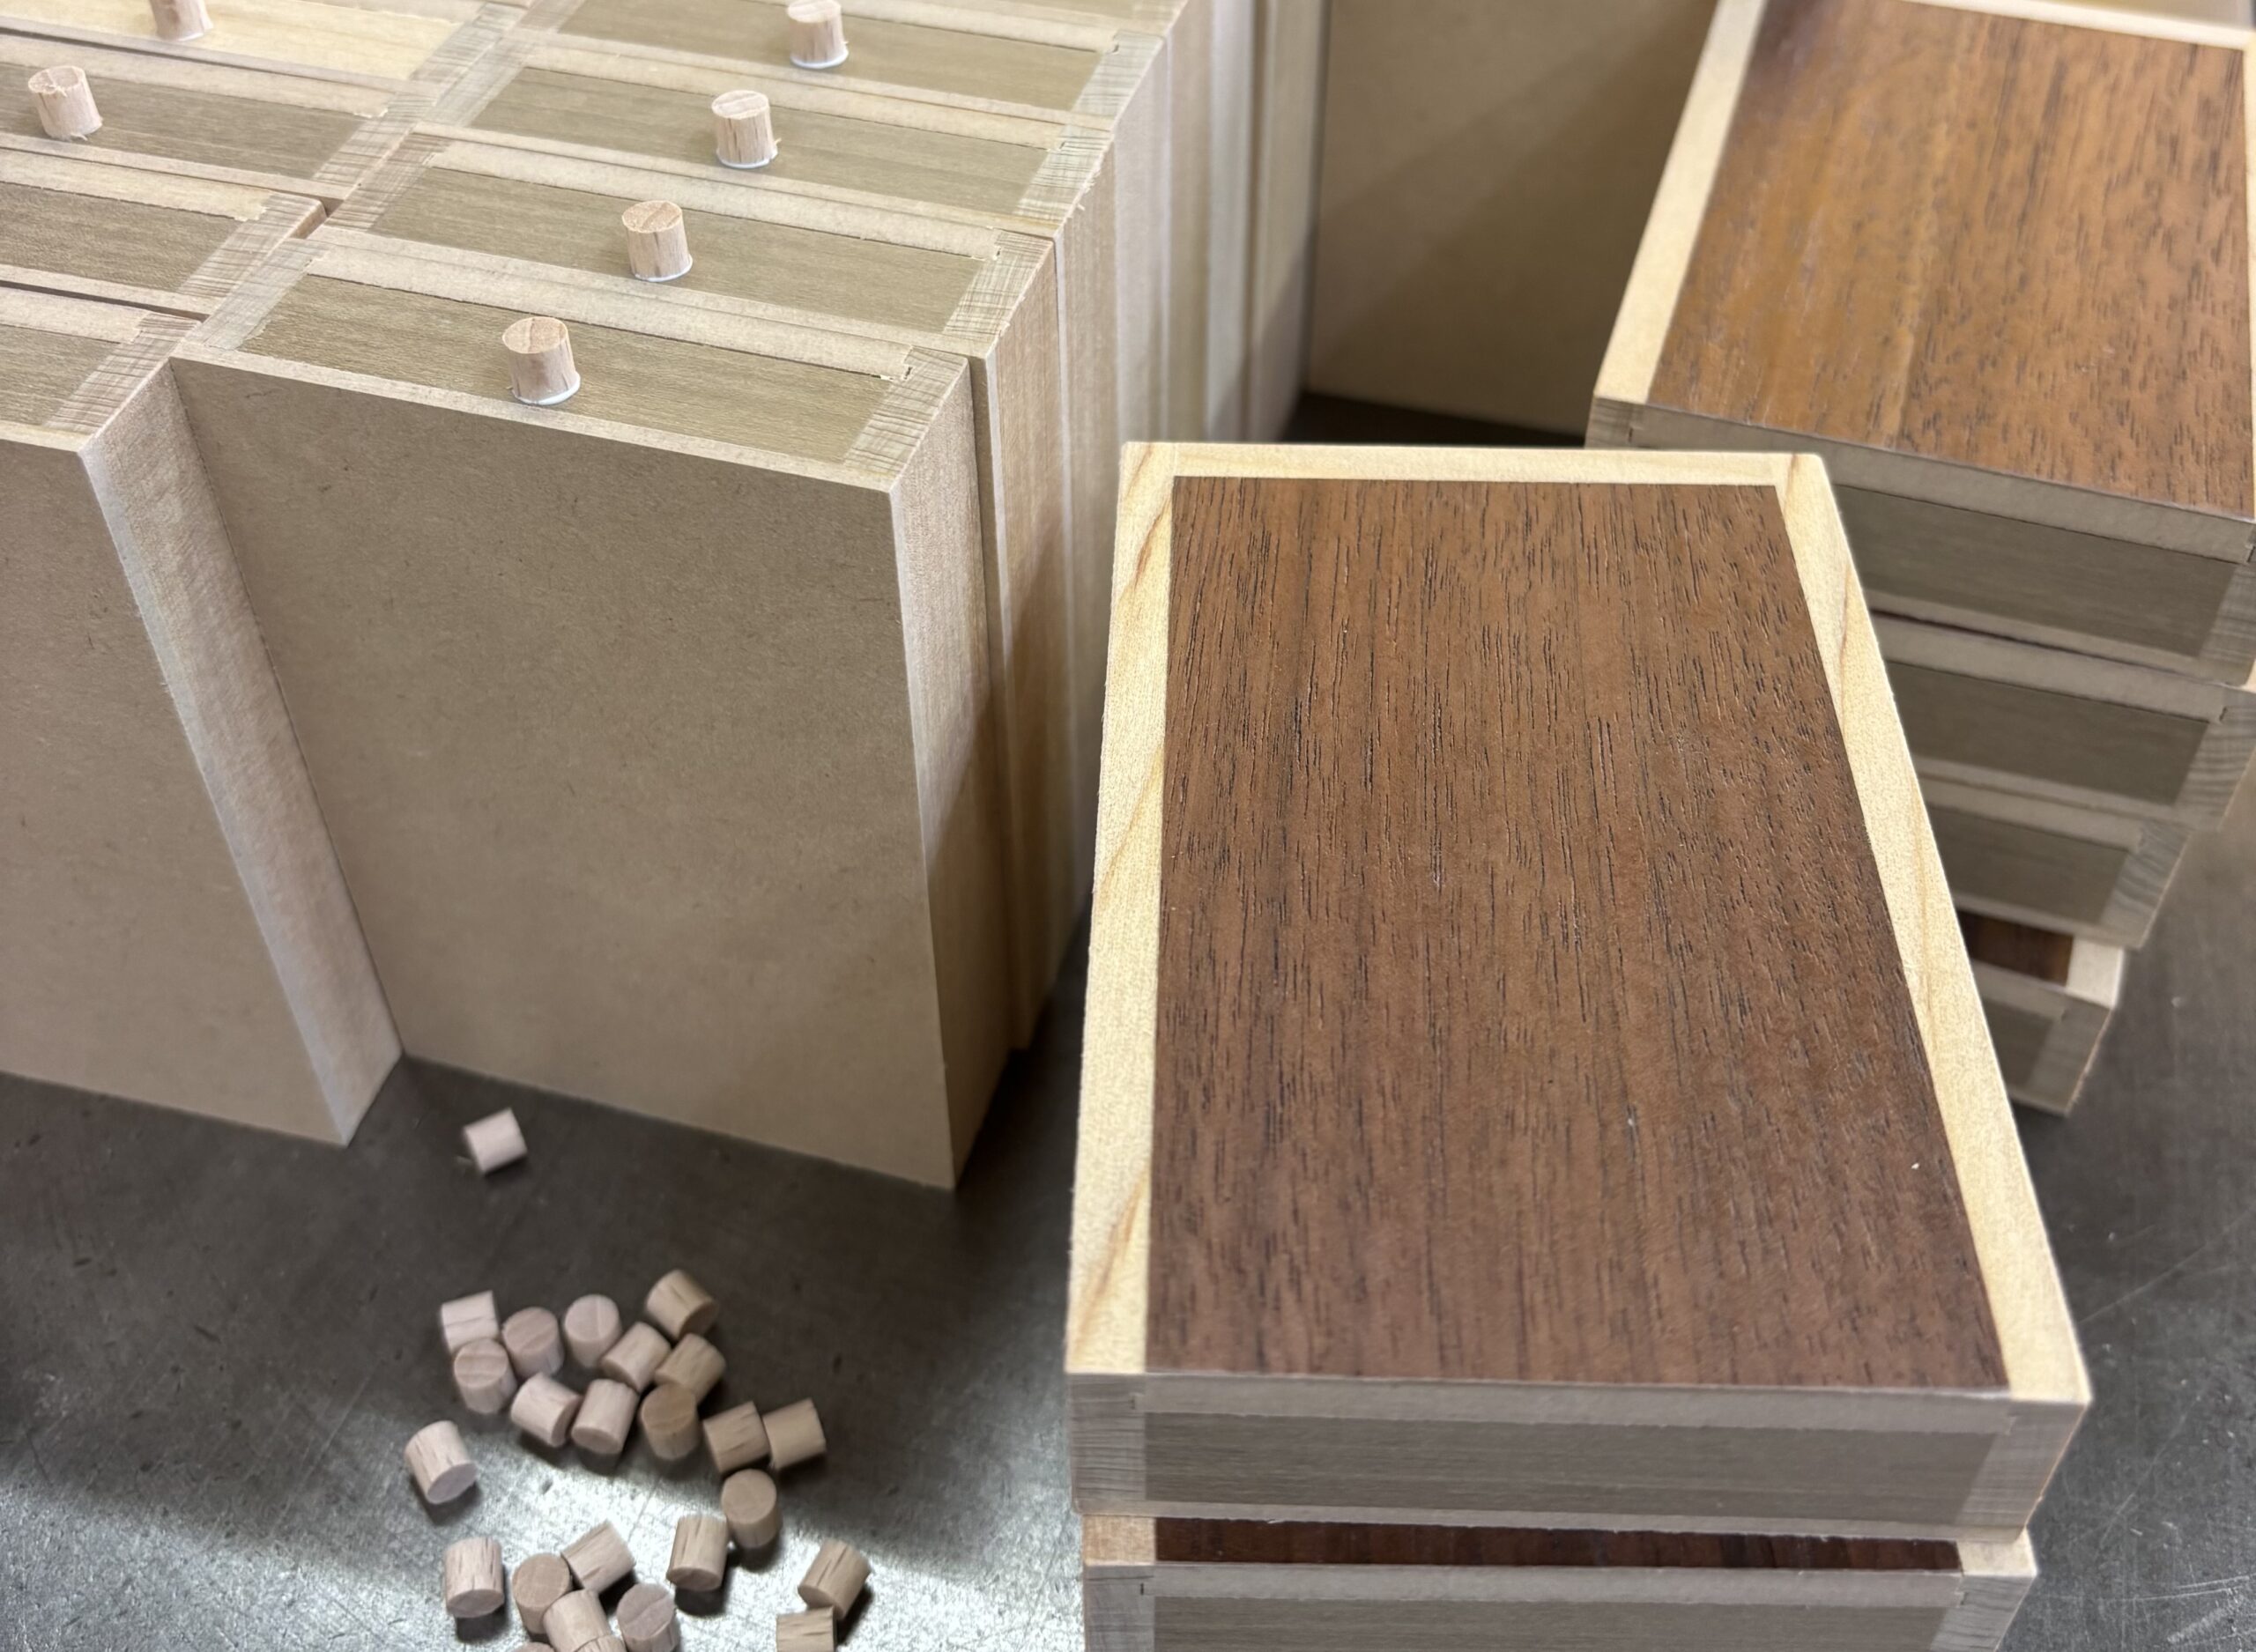
Usually, puzzle boxes are opened by holding and moving certain parts repeatedly, and over many years those areas can become dirty or discolored. Even a light coating can help prevent that quite a lot. The top surface of the drawer lid can easily become dirty because it is touched with a little pressure when opening the drawer. That is why I apply a light finish to it. However, if the finishing coat is applied directly without an undercoat, the surface becomes slightly rough. Because of this, only these lid panels are lightly polished after the finishing coat using very fine sandpaper that does not leave noticeable scratches. After removing the sanding dust, the surface looks so smooth that you can hardly tell it was polished at all. Once the surface of the board is fully finished in its large sheet form, it is then cut and shaped to fit each drawer body.
After this, only the front surface of the drawer is sanded with a machine until it becomes completely flat. The reason is that each drawer body is assembled by hand, so there are small differences between them. Even if the drawer lids are cut and attached in the same way, some lids may stick out slightly, while others may sit slightly lower. The difference is very small, around 0.1 to 0.2 mm. By sanding the front surface, I can make all of the parts on the front of the drawer perfectly level. In the past, I could not do this process because the front of the drawer was covered with yosegi sheets. If I sanded the surface, the yosegi sheets would also be sanded away. Because of that, it was very difficult to make everything perfectly flat. I had to carefully adjust only the lid panel little by little to match each drawer. Starting this time, I changed to solid wood, so now I can do this sanding process properly and achieve a much cleaner finish. After that, I attach the handle, and the drawer is complete 😊