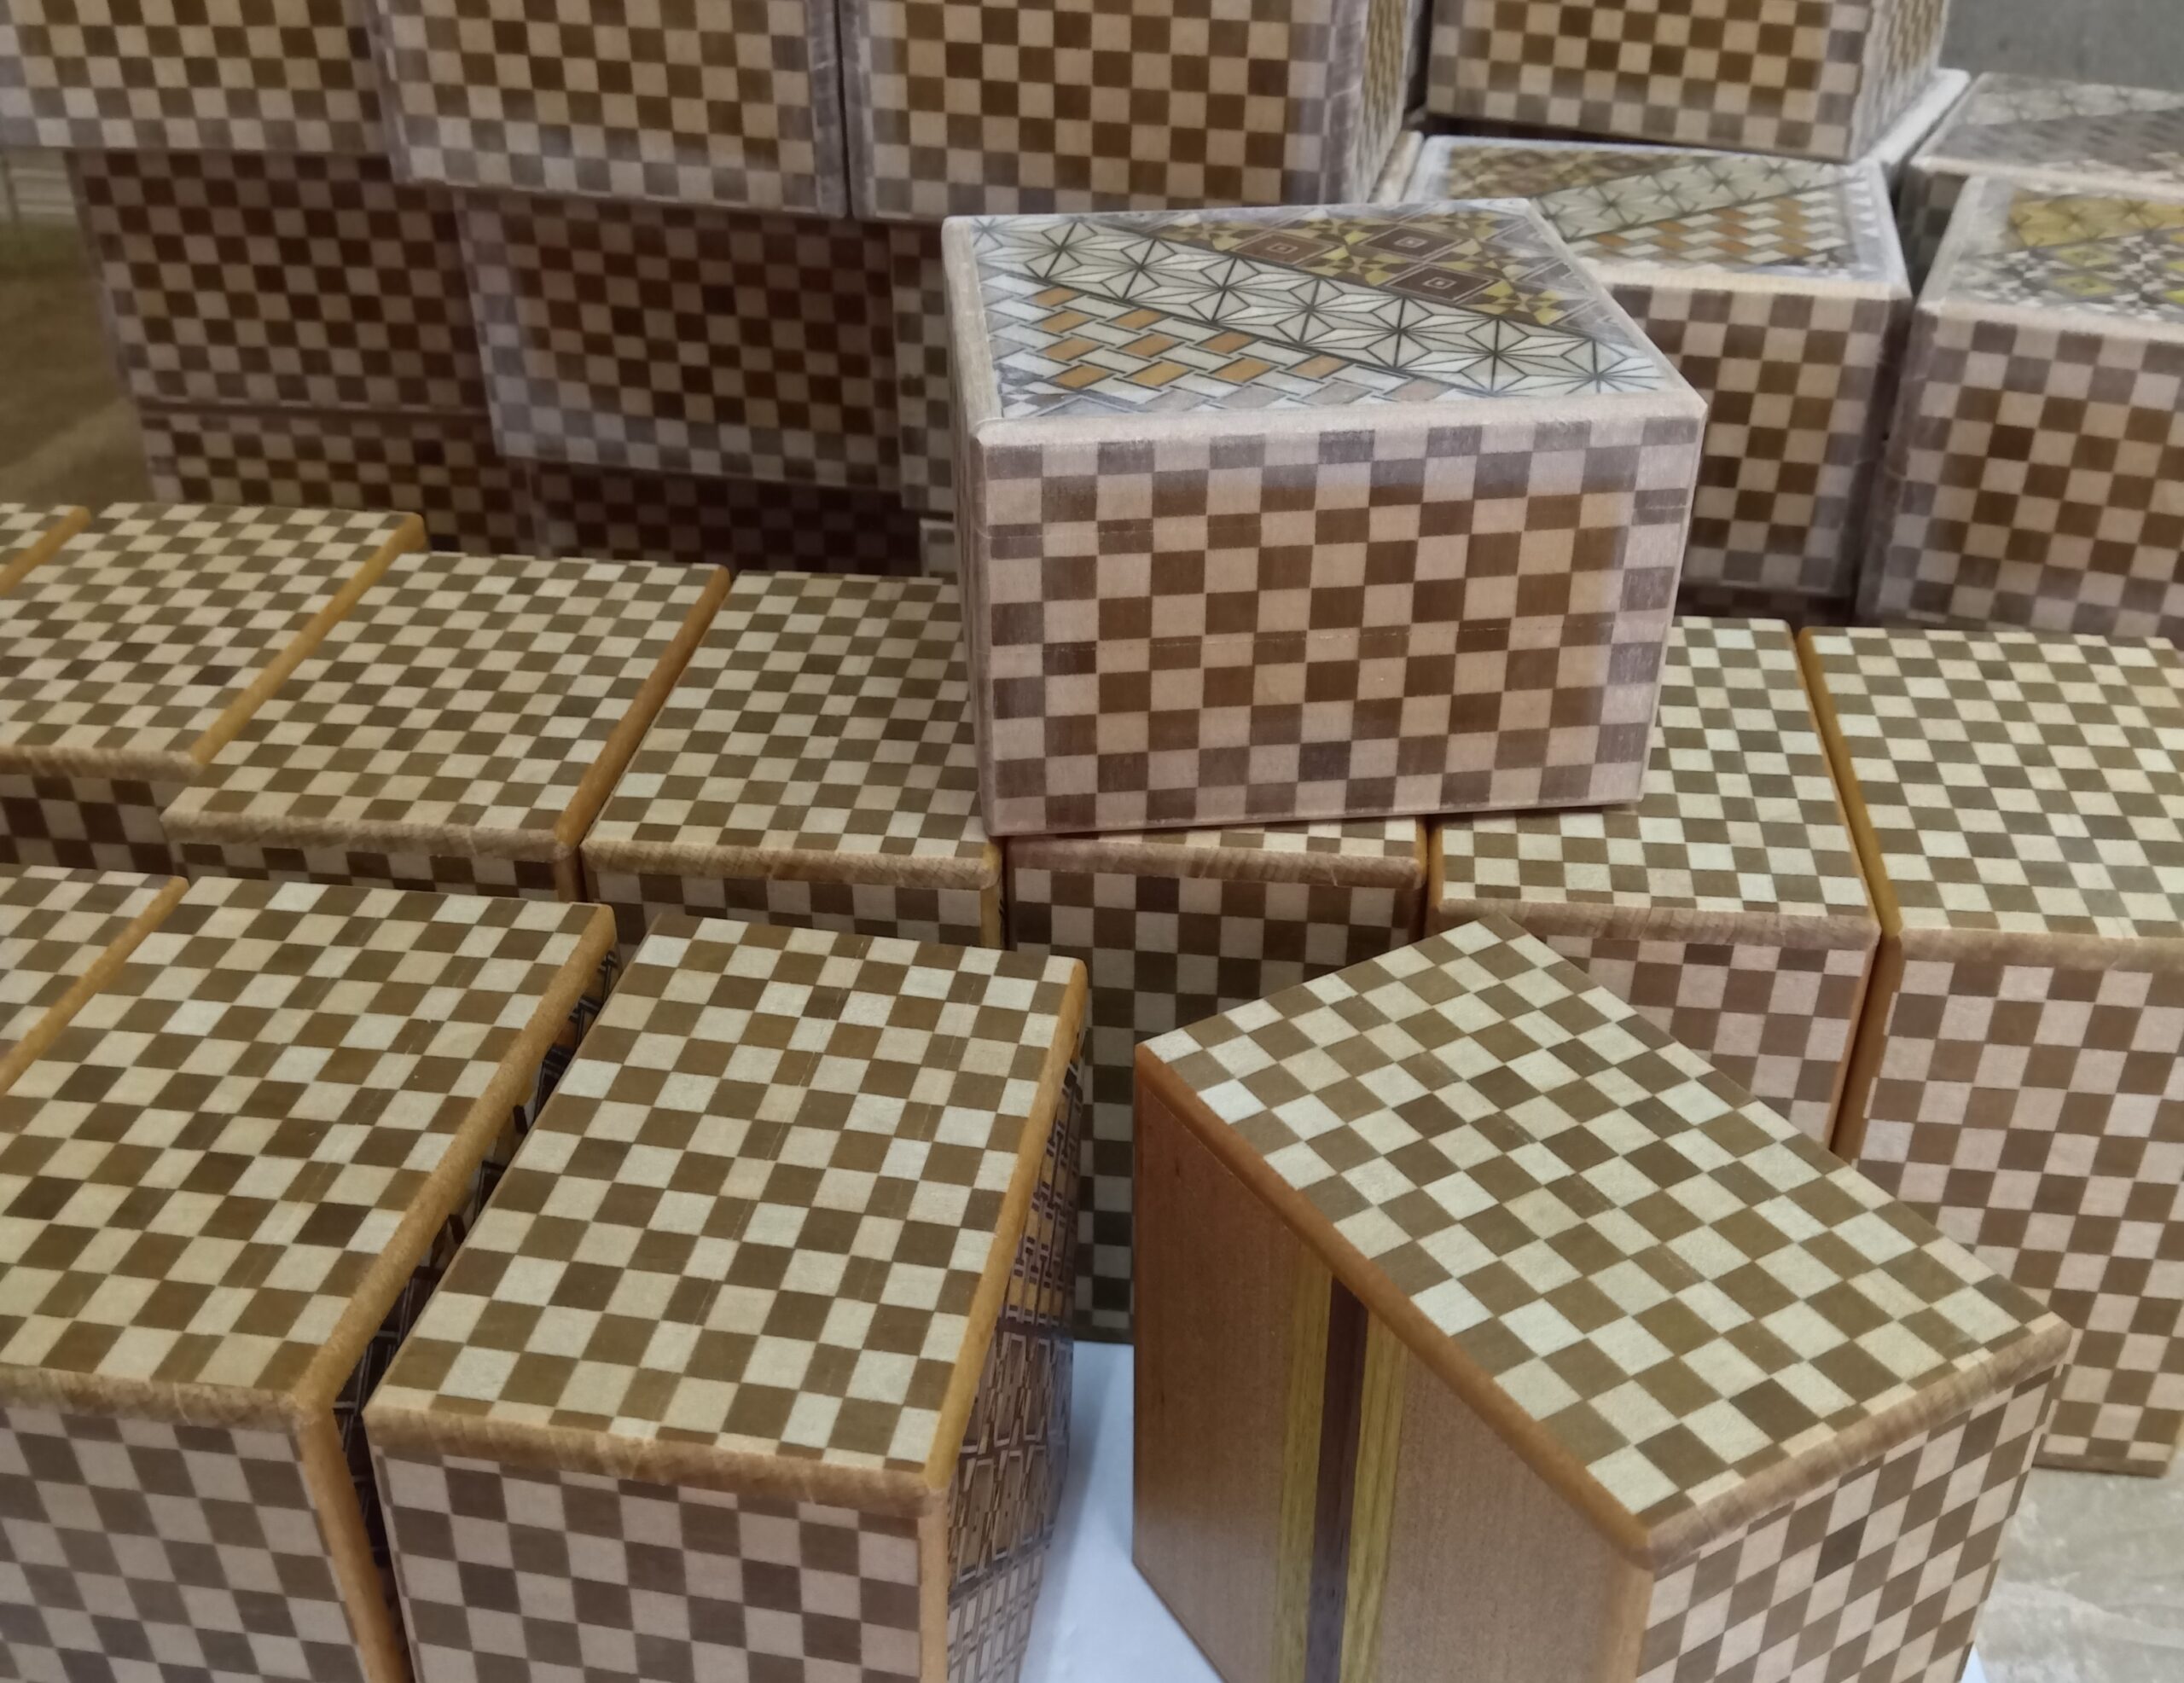
This morning was very cold, almost freezing. There was frost on the riverbank in front of my workshop, and the temperature was 0°C. It was cloudy at first, but later in the day the sunlight came back, and for a few hours it felt a little warm. I worked in my workshop all day again, and today the square 14-steps puzzle boxes were completed. I plan to list them tomorrow together with the two types I finished earlier. Because my stock has been low, I worked a little faster than usual this time. I am already working on the 5-sun puzzle boxes. Today I prepared the materials, made the axis panels, and did the basic preparation for the side panels. This time I plan to make 32 boxes. About one-third of them will be this month’s limited-edition boxes. At the moment, I am thinking of using a random wood-grain design. It will be my first time using this design on a 5-sun sized box.
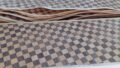
The square puzzle boxes finished their painting process today, and I will check each box next. Today was the second coat of paint. I usually paint my puzzle boxes twice. Yes, it means two coatings. The first one is the base coat, and the second one is the top coat. Since puzzle boxes have several moving parts on the surface, if the coating is too thick, those parts can stick together and stop moving. Even with one thin coat, the parts will stick a little, but they can be moved quickly. However, if the coating is too thick, it forms a kind of plastic-like film on the surface, and the parts will not move even if you apply some force. After a lot of trial and error, I found that two coats are the best. But even with two coats, there is a difference between two thick coats and two thin coats. I adjust this by controlling the amount of paint. I apply two coats using just the right amount of paint. With only one coat, the surface still feels rough and does not become smooth. It also becomes more sensitive to humidity and temperature changes from outside. With two coats, the box is better protected, and the surface looks much nicer. Of course, the mechanism sticks a little after painting, but if you apply a bit of pressure, it will move. I adjust this by controlling the amount of paint. When the coating begins to dry, I move the mechanism once so it will not stick again. So after the first coat, I move the mechanism once, and after the second coat has dried, I move it again. If I don’t move it at the stage after the first coat, it becomes very difficult to move the mechanism later during the final check.
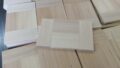
The photo shows the stage after the first coat (the base coat) has been applied, just before starting the second coat. After the base coat, I sand the surface with sandpaper to make it smooth, and then I apply the second coat. Since this sanding step is the last sanding in the whole process, I use finer sandpaper. For efficiency and a clean finish, I use 240-grit, 320-grit, and 400-grit sandpaper, choosing between them depending on the number of boxes and their condition. This sanding step is very important. If I sand too much, the thickness of the coating cannot be maintained. But the surface after the base coat is still rough, so if I don’t remove that roughness completely, the final finish will not be smooth. So I must sand a certain amount. While sanding, I touch the surface with my hand to check the smoothness and adjust the amount of sanding as I work.