10-Apr-2025
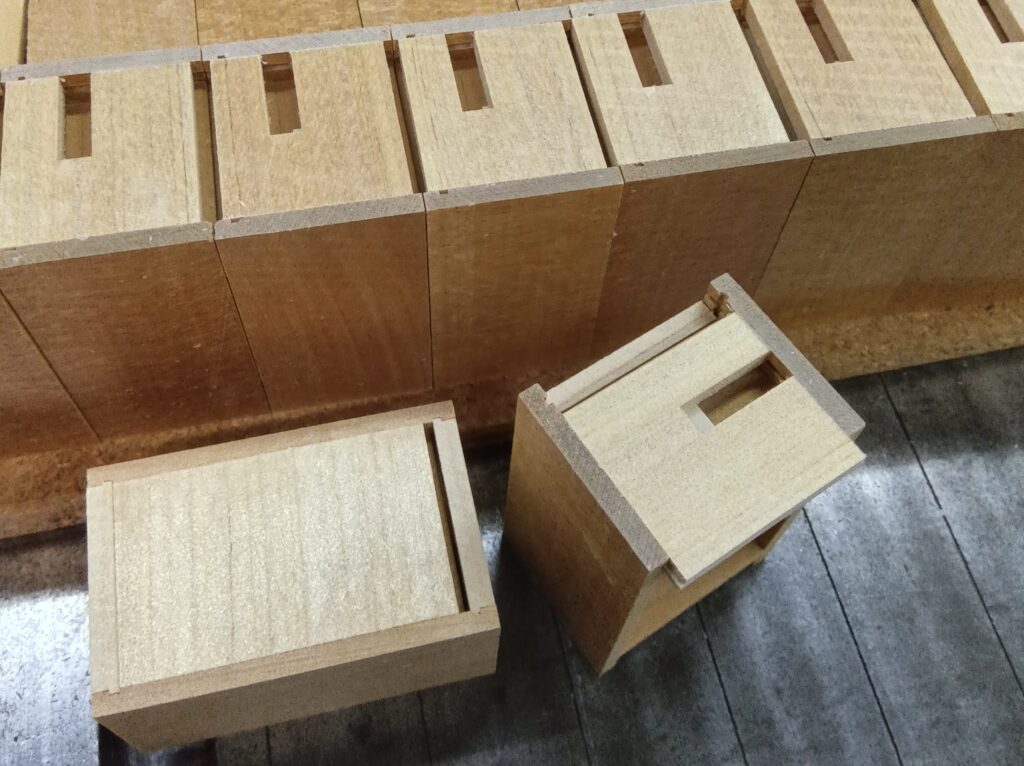
I made progress on several tasks again today. Since the weather forecast called for unstable conditions, I thought it might be a good opportunity to work on the finishing process for the 2-sun cube and 3-sun boxes. Just as the forecast predicted, it was cloudy from the morning, with slightly higher humidity. So I thought, “This is my chance,” and began the finishing work on those boxes. Although I’m working on both 2-sun cubes and 3-sun boxes, when it comes to finishing, I don’t divide the work by box type. Instead, I proceed based on the type of side panel.
I started with the ones that have walnut wood side panels. This time, all of the 2-sun cube boxes and about two-thirds of the 3-sun boxes use this type of panel. The first step is to trim the panels—which were attached slightly larger—to fit perfectly with the sides of the boxes. At this stage, it’s very important to make sure that the moving parts are in their correct positions. For example, with the 2-sun cube boxes, I need to check that the first sliding panel is completely returned to its original position. And for the 3-sun boxes, I need to confirm that the Kannuki is also fully returned. If I cut the panels while the parts are out of position, the work on that box must be stopped immediately. To fix it, I would need to carefully sand off the panel that was cut in the wrong position and replace it with a new one. This repair process would take another one or two days.
Since the mechanisms move by hand, it’s actually quite easy to make this kind of mistake. Thankfully, it didn’t happen this time, but when it does, I usually set that box aside and wait to redo the panel during the finishing and painting of the next batch. There’s usually only one (or two) box with such a mistake, so I can’t afford to delay all the other work just for that one.
After that, I used a machine to polish the walnut side panels, making them completely smooth and clean. There are often some small scratches from the production process, so this step is necessary. Then, I cut all the corners of the boxes at an angle, and finally moved on to the base coating stage.
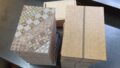
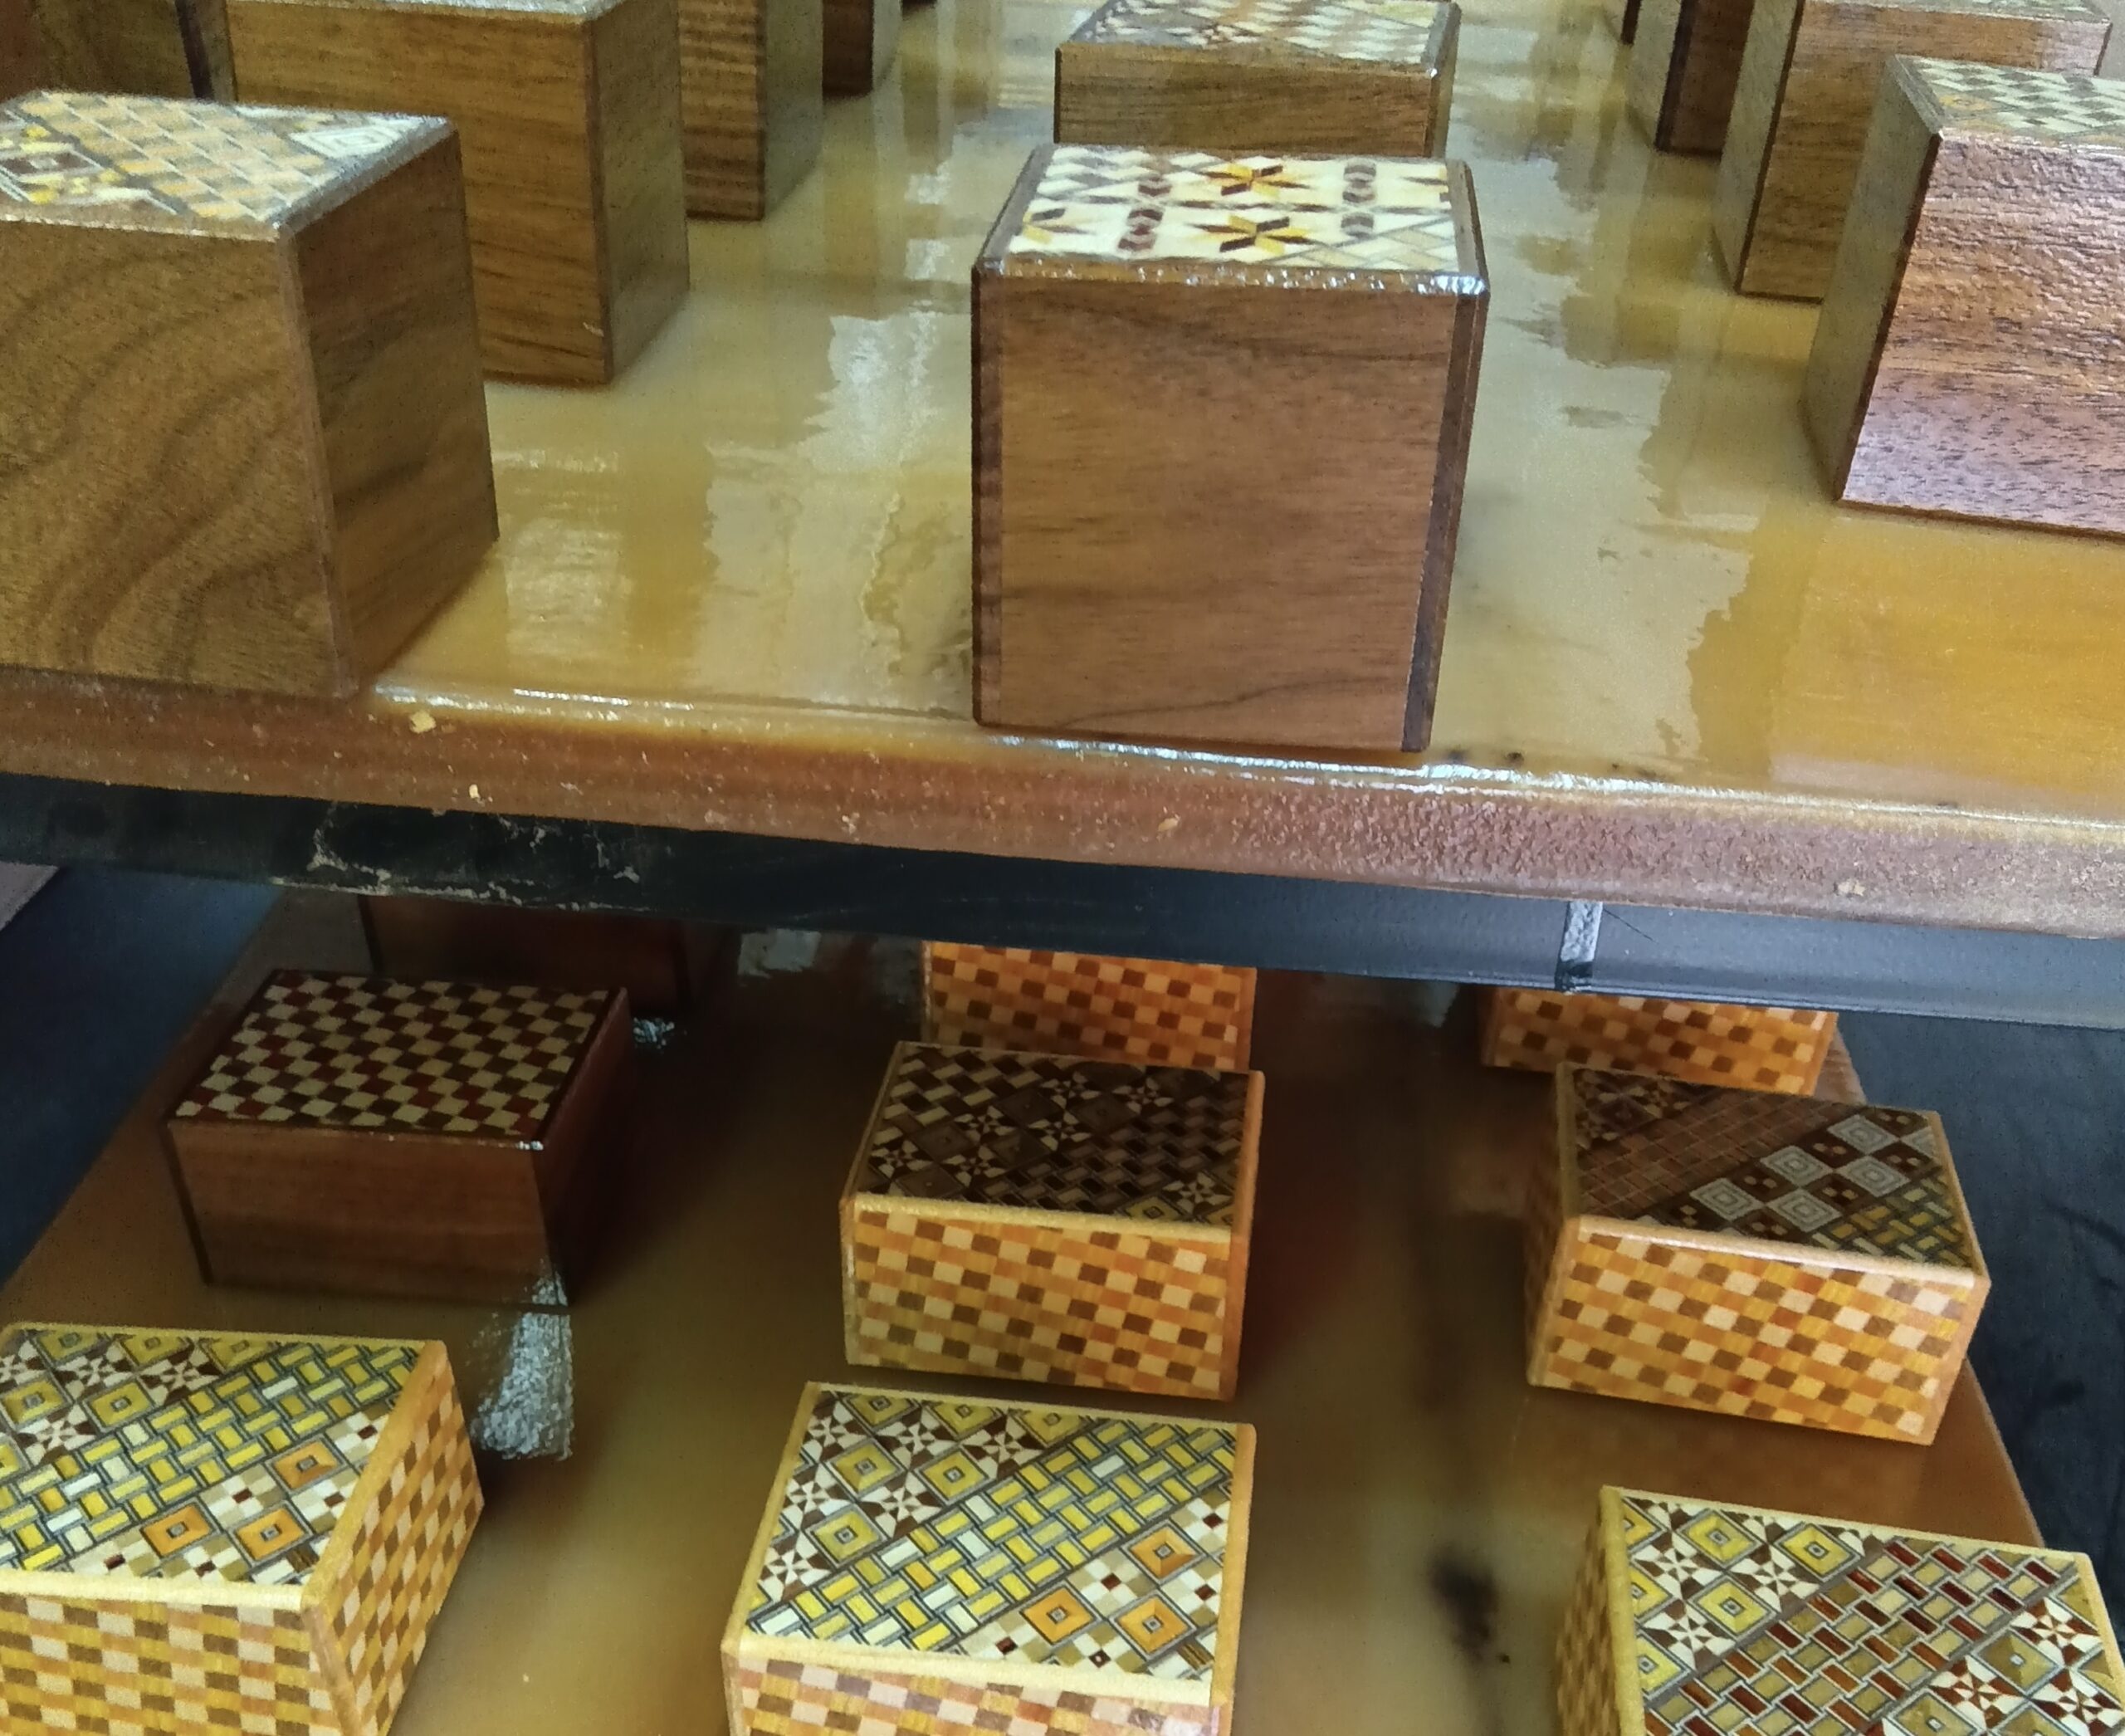
Next, I moved on to the 3-sun boxes with the checkered pattern (ichimatsu) panels. Just like with traditional puzzle boxes, I used a machine with a rounded blade to cut all the corners into smooth curves. Rounded corners are a traditional feature of classic puzzle box design. At the same time, I trimmed down the excess parts of the panels that were sticking out after being attached. The important point here is to remove as much of the excess as possible with the machine—but intentionally leave a small amount behind. That remaining part is carefully removed by hand afterward. When making puzzle boxes in large quantities, there’s a temptation to remove all the excess with the machine to save time. However, doing so can result in cutting too deeply into the decorative Yosegi patterns. This damages the look of the box and is not acceptable for a quality product. So, the final step of removing the excess should always be done by hand. The reason this happens is that every box is assembled by hand, so each one is slightly different. If you use a machine set to one fixed dimension for all of them, some boxes may end up with too much material left, while others may get cut too far. That’s why it’s best to adjust the finishing work to each individual box.
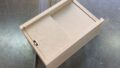
After that, I worked on making and attaching the Aruki parts (moving panels) for the 2.5-sun boxes I assembled yesterday. I plan to use Nyatoh wood for the side panels of these boxes, but the material won’t arrive until next week. So, I’ve decided to store the boxes as they are for now.