It rained throughout the day today. The humidity was very high, and although I arrived at the workshop fairly early, I soon realized that it would not be a good day to continue attaching the sliding key panels to the special-order boxes. I considered preparing parts for other projects, but since the 4-Compartment Boxes have not progressed very far yet, I decided to focus on them instead. My plan was to make as many parts as possible today and wait for better weather before doing the final assembly and attachment work.
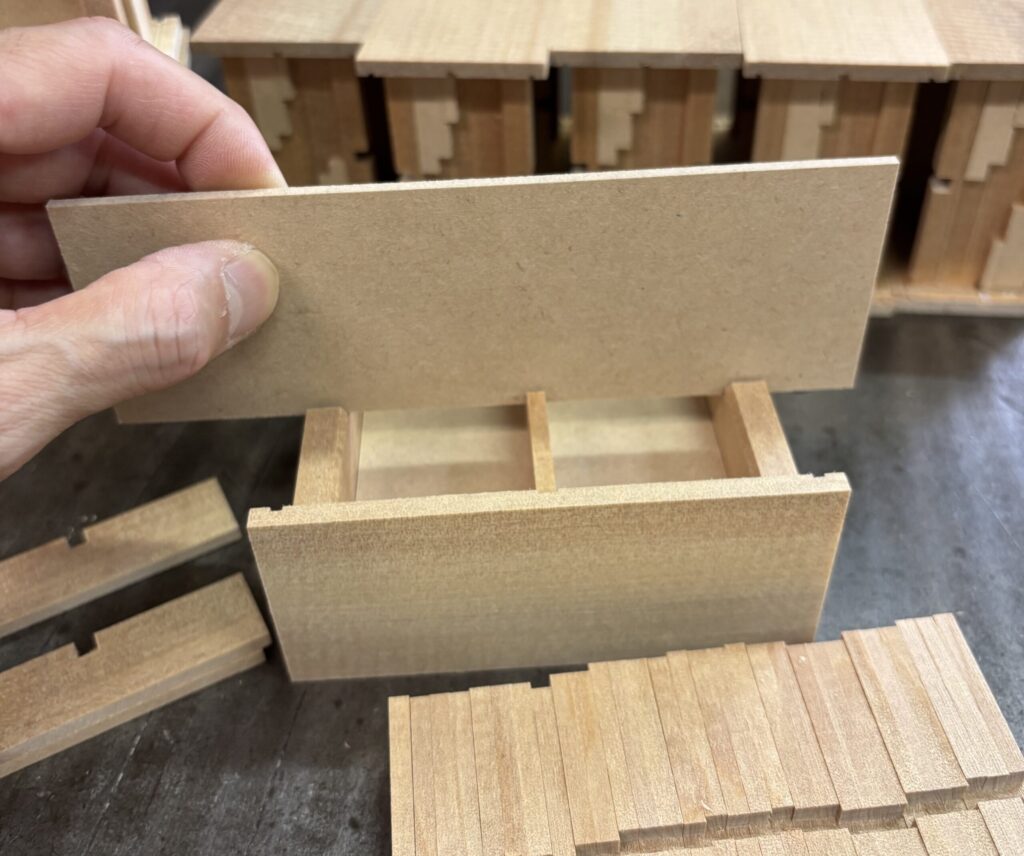
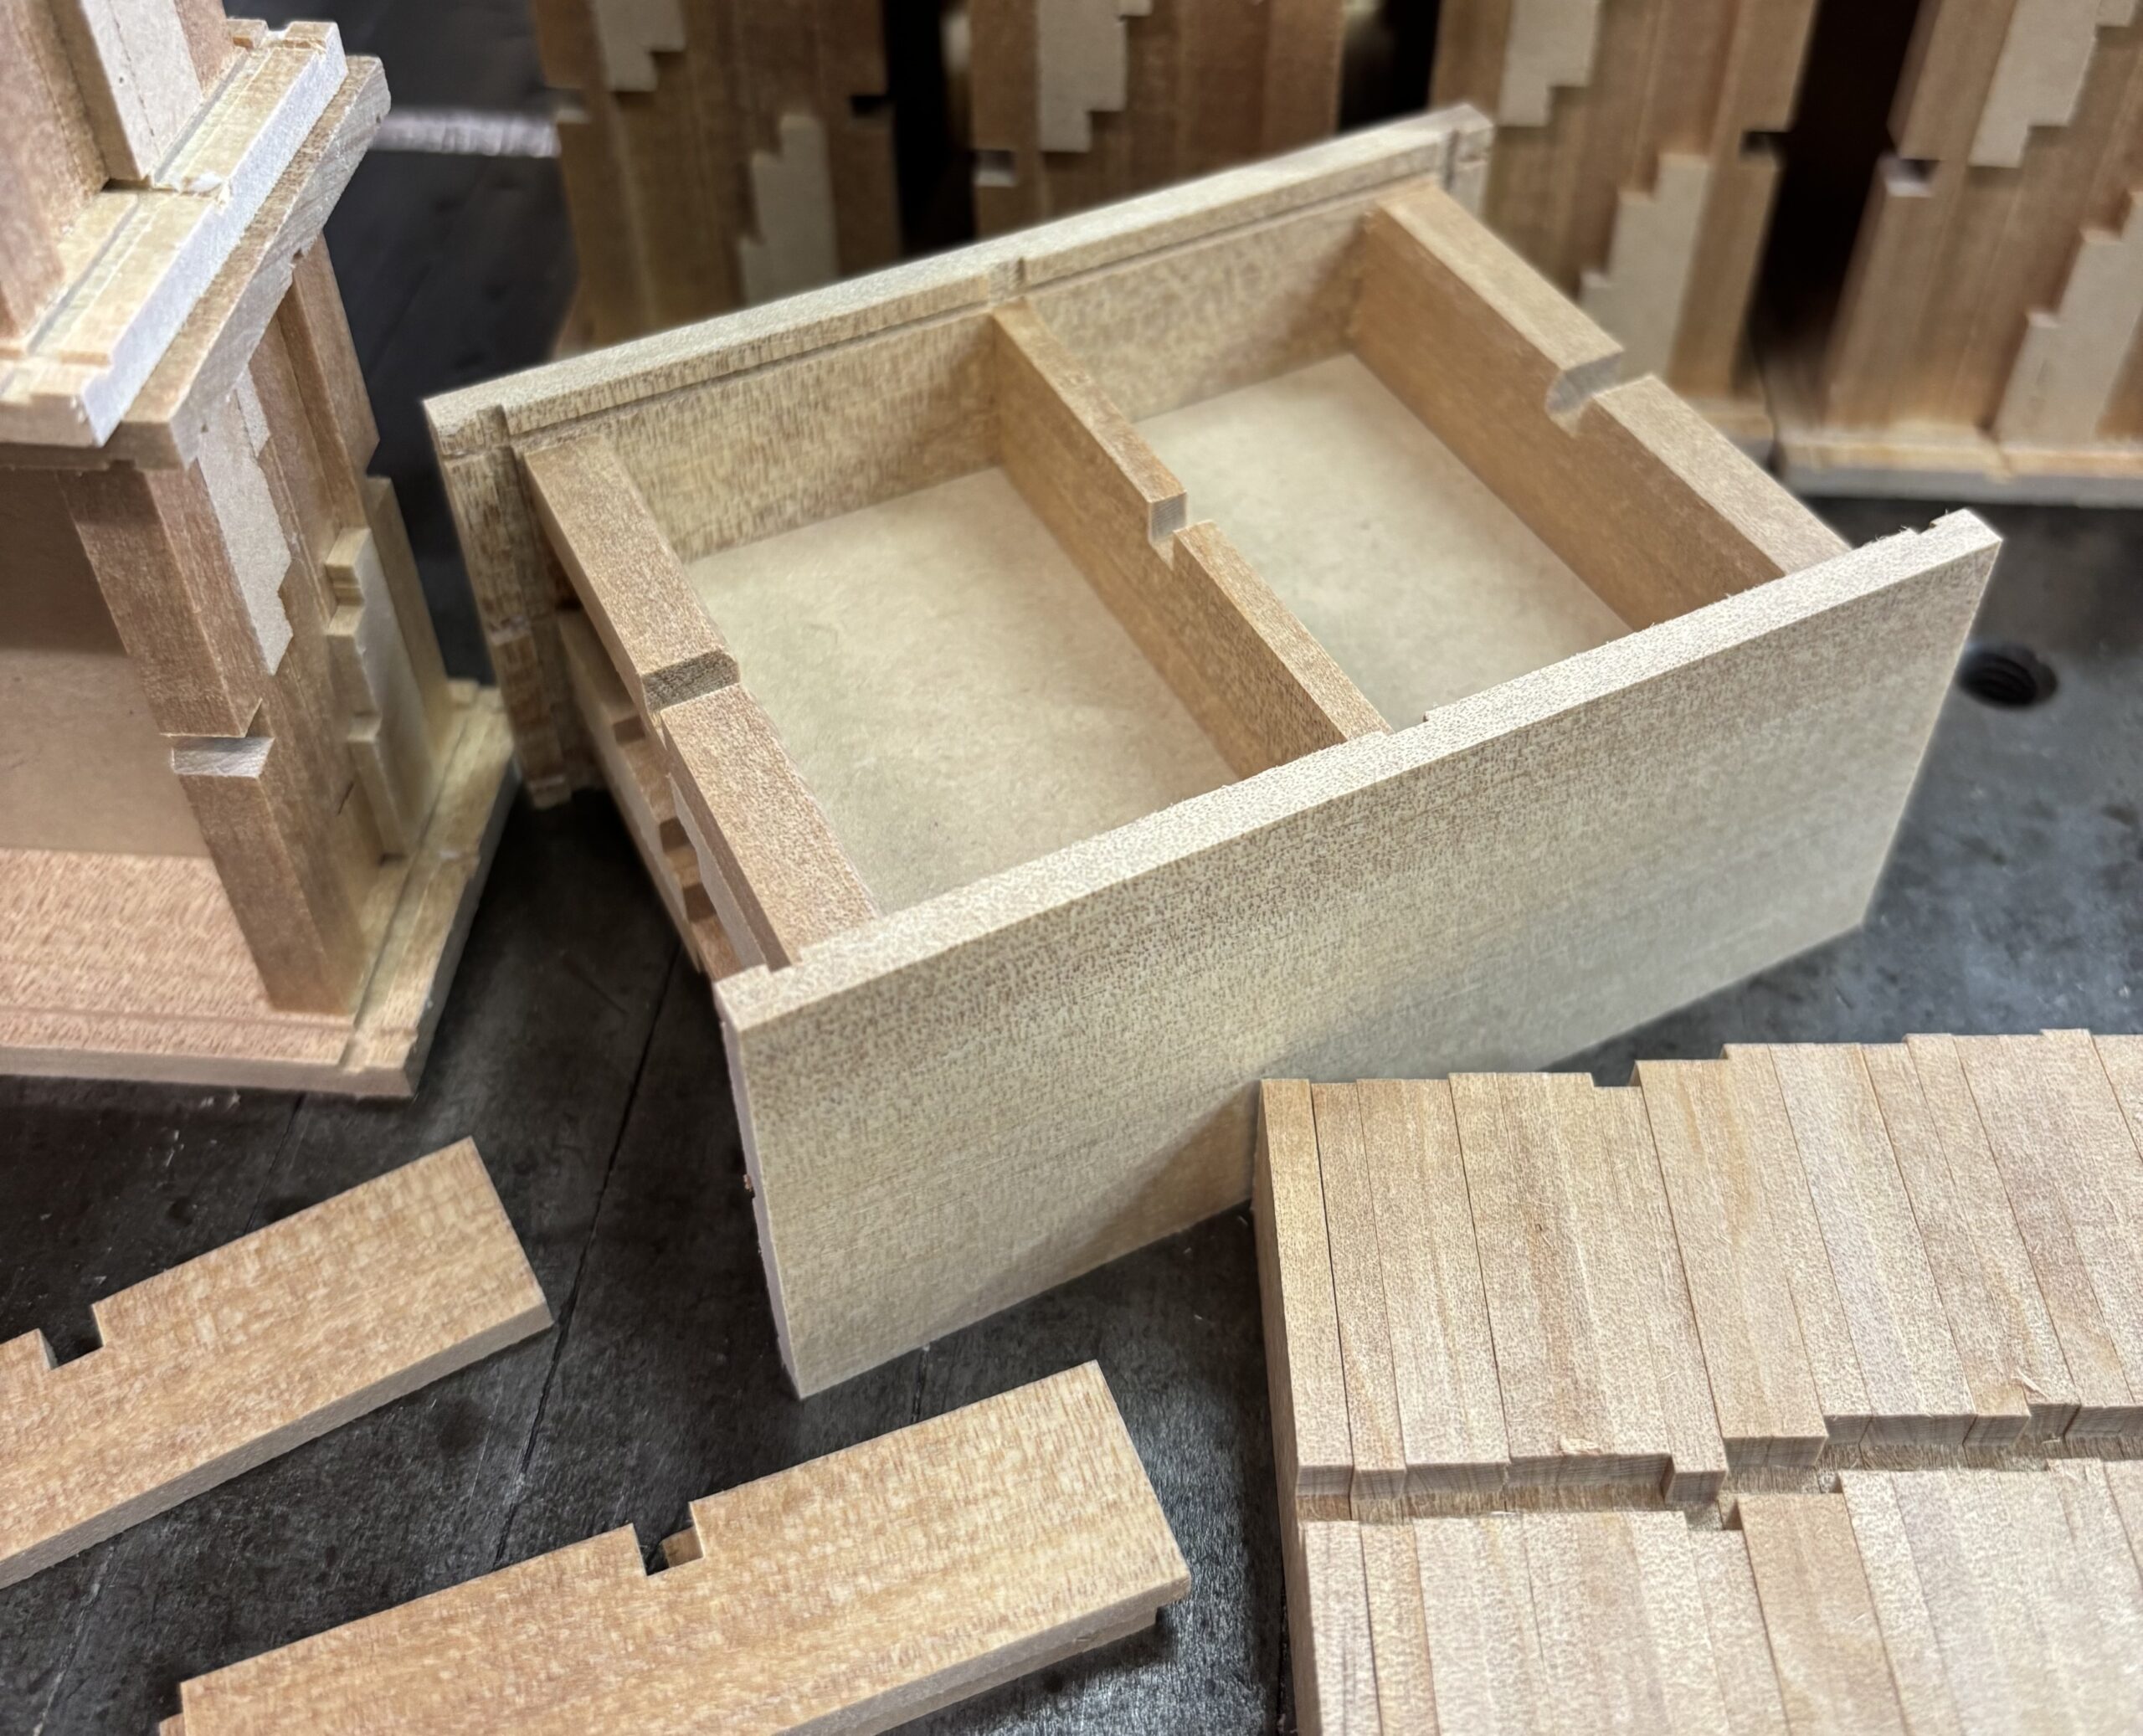
Today’s work focused on making and installing the center divider panels, as well as building the Aruki panels. The photo shows the box after the center divider panels had been fitted. As you can see, there is also a slot in the middle of this divider panel. This is where a stopper will be installed. Just like the axis panel, a pin passes through this slot during the movement of the mechanism. The center divider panel also requires careful calculation. First, it must not extend into the groove of the top Aruki panel, but at the same time I want it to be as tall as possible. If it is made too low, it would not serve much purpose as a divider!
Another important detail is the depth of the small slot cut into this panel. It must be slightly shallower than the slot in the axis panel. Even a small difference here is important for the mechanism to function correctly.The pin is installed to match the full depth of this slot. If the slot in the center divider panel were deeper than the slot in the axis panel, the pin would not be able to pass through the axis panel properly and would strike it instead. For that reason, the slot in the center divider panel must be slightly shallower. However, making it shallower is not enough by itself. After passing through the slot in the axis panel, the pin must stop against the outermost Yosegi panel of the box—the sliding key panel. If the slot is made too shallow, the pin will pass by without hitting the panel and could come out completely. The difference between these two positions is only about 3 mm, so there is very little margin for error. The slot must be carefully sized—not too deep, but not too shallow either. Before gluing the panel in place, I temporarily install it and check the depth of the slot. As shown in the photo below, I place a straight piece of wood across the top and make sure that the center divider panel is sitting just slightly higher than the axis panel.
Making the Aruki panels did not take very much time today. As I mentioned yesterday, the side Aruki panels were already partially completed, so all that remained was to adjust their width slightly and machine the feet that run in the sliding grooves. The top Aruki panel was also fairly straightforward. I simply cut it to size and added the same feet for the sliding mechanism. This is largely because the box requires only five moves to open each compartment. Compared with higher-step puzzle boxes, the mechanism is relatively simple. For the same reason, the top Aruki panel is made from 4.5 mm thick material, the same thickness that I use for smaller boxes such as 3-sun puzzle boxes. It is quite unusual to use such a thin panel on a box that is close in size to a 4-sun puzzle box. In addition to this work, I also made the top and bottom panels for a limited-design version of the box. I will share more about that next time.