It was cloudy from the morning today, and there were still puddles left from the rain that had fallen the night before. Thanks to the rain, today was a little cooler than usual. Until yesterday, the humidity had been extremely high, reaching around 80% even at night. High humidity can be surprisingly exhausting, and it certainly seems to take a toll on the body. I considered doing the finishing work on the special-order boxes, but decided to postpone it a little longer. The weather itself was actually suitable, but I wanted to leave the final attached panel for more than 24 hours before moving on. I had attached it yesterday afternoon, so not much time had passed yet. Normally, leaving it overnight would be enough, but since this is a slightly larger box, I decided to wait a little longer.
I also continued working on the 4-Compartment Box. Since it has been a long time since I last made this design, I have received quite a lot of interest and comments about it. The mechanism itself is not especially difficult, but it is an unusual type of Japanese puzzle box. Originally, it was developed as a variation of the 2-Compartment Box, which is still a popular design today. However, the method of construction ended up being completely different. In a way, the 2-Compartment Box can be thought of as two separate puzzle boxes joined together, one above the other. Each compartment has its own independent direction of movement. This box is different. The two compartments interfere with each other’s directions of movement, so the mechanisms become interconnected. As a result, the movements are gradually linked together, creating a more integrated structure.
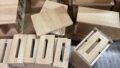
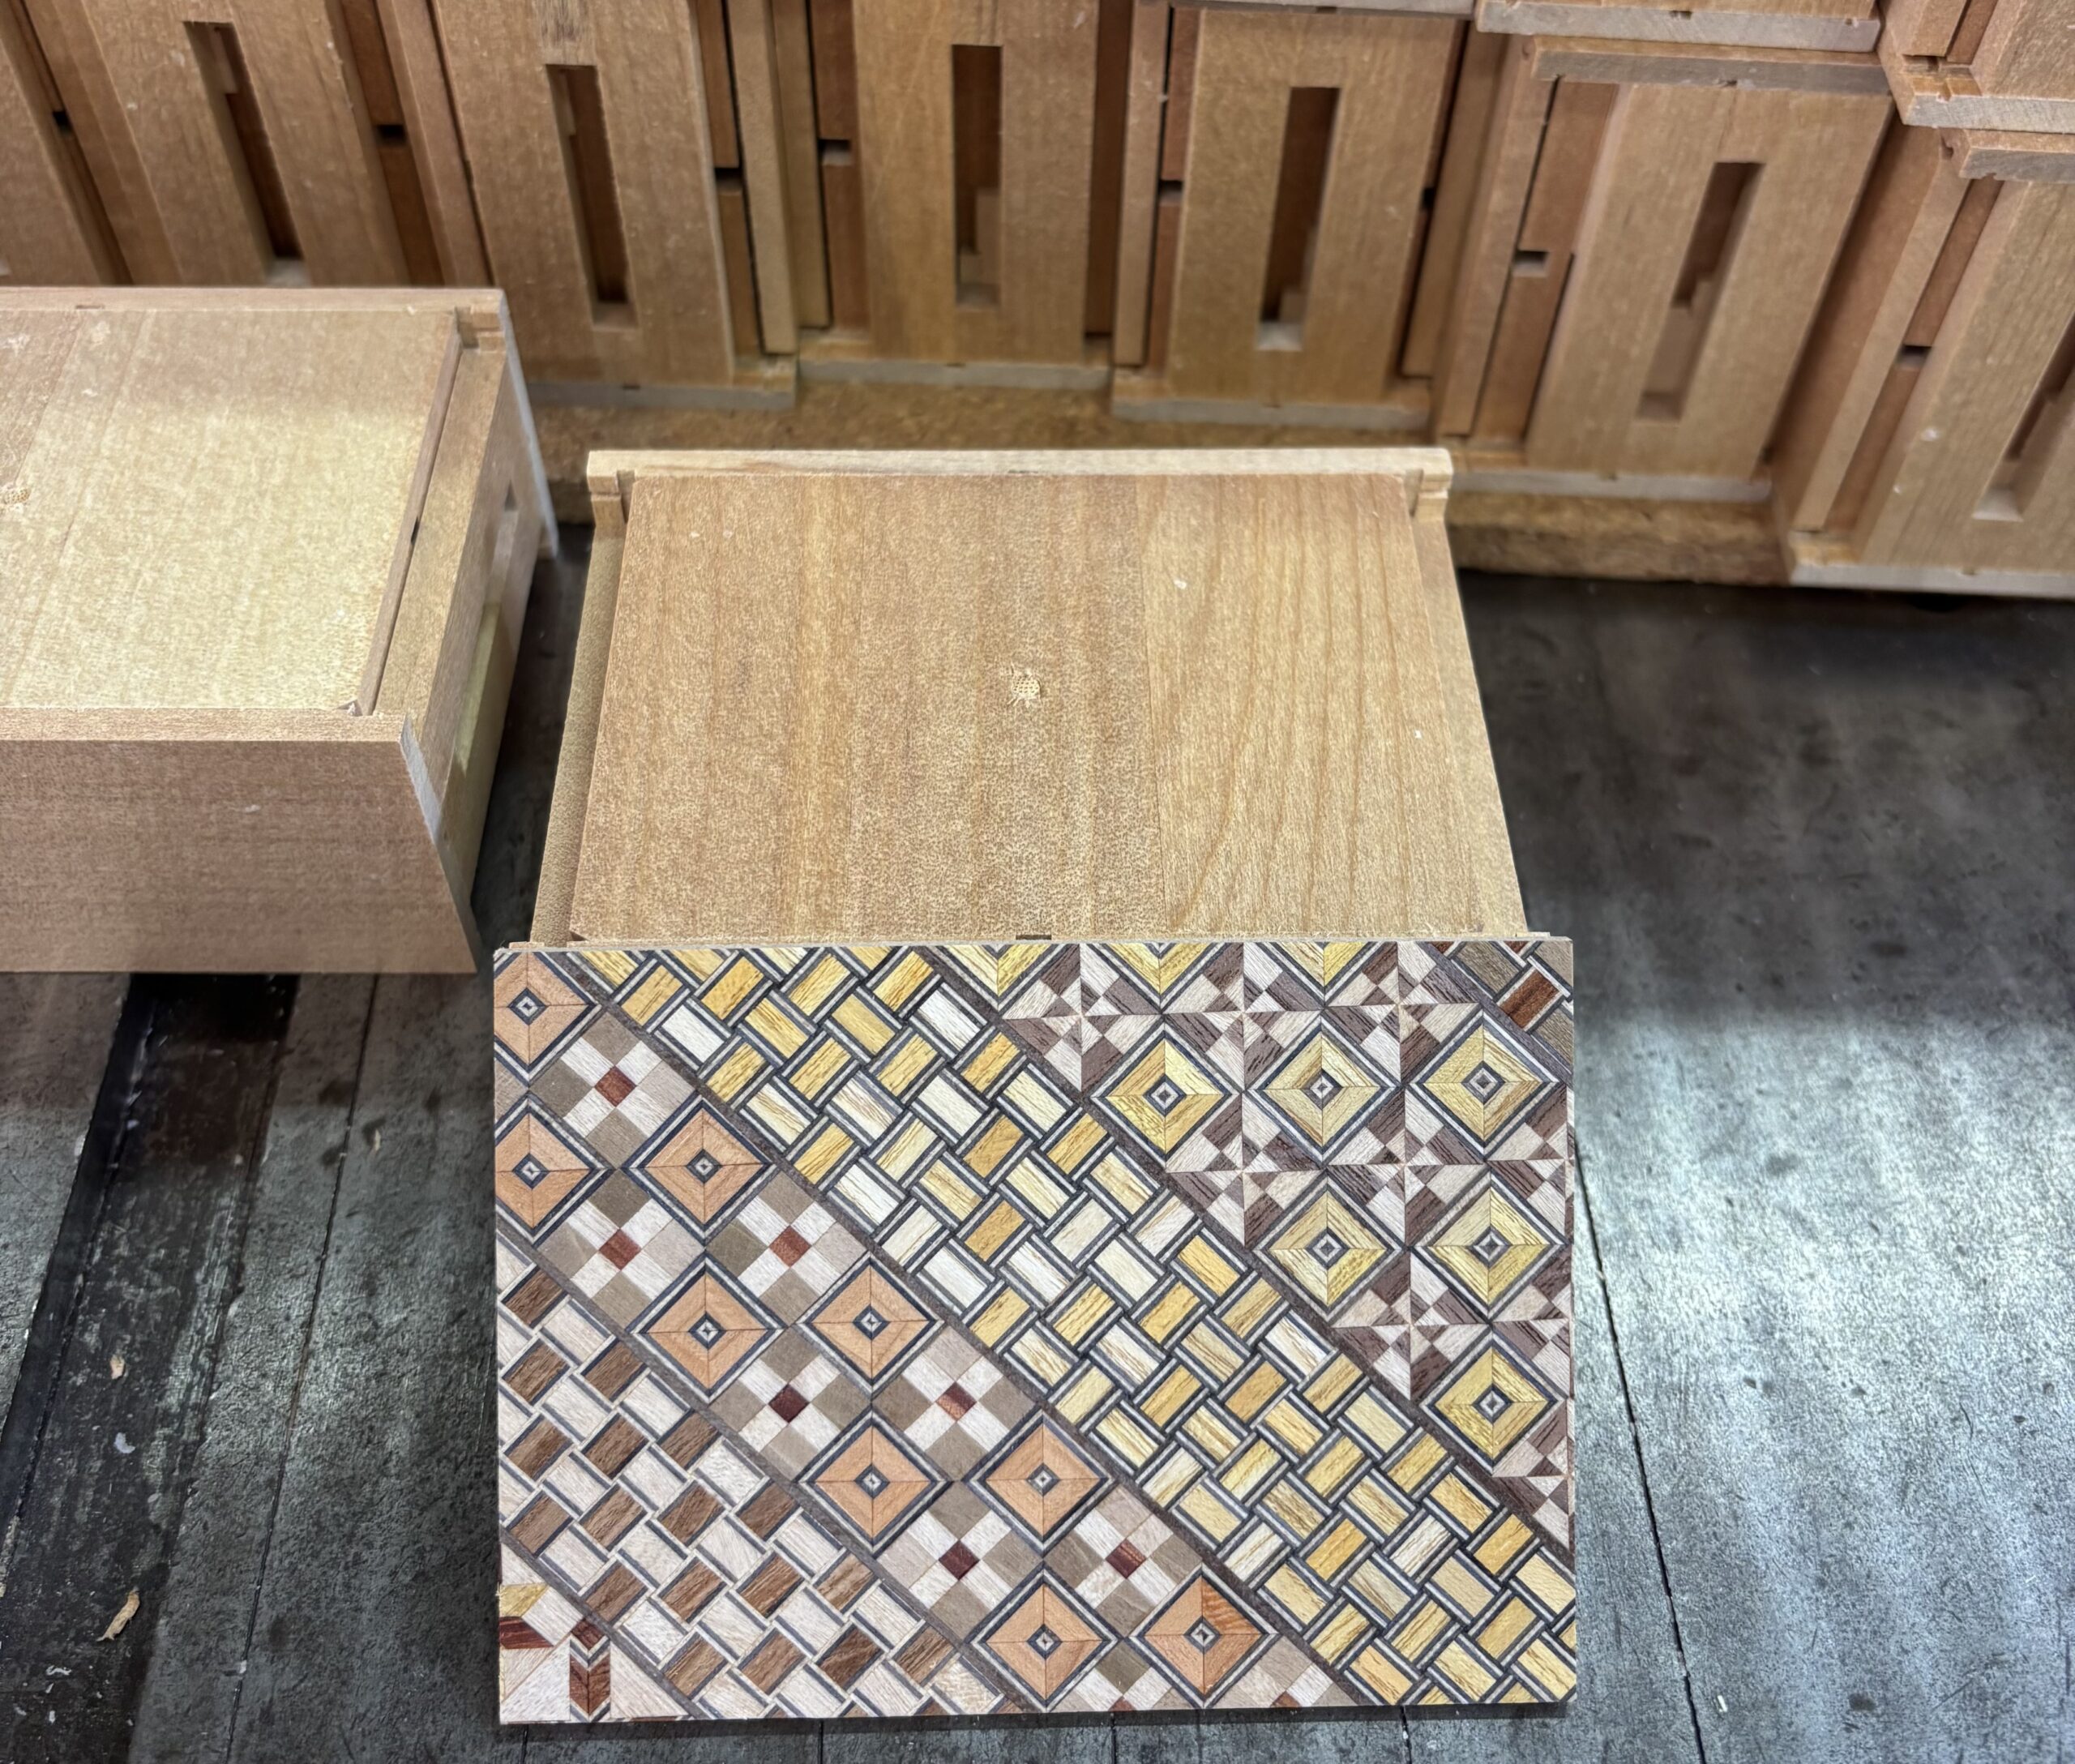
The work I did today reflects this interconnected design. The photo shows the main body with the Aruki panels attached, along with the Yosegi top panel that will be attached next. When attaching this panel, the upper Aruki panel must be positioned exactly in the center. At this stage, the panel is only inserted into its grooves and can still slide in either direction. Since some pressure is applied during the attachment process, it is important that the Aruki panel does not move out of position. For that reason, I intentionally adjusted the movement of the Aruki panel to be slightly stiff at this stage. The fit can still be adjusted later, before the side panels (sliding key panels) are attached. Another important step is inserting the pin into the hole in the center of the Aruki panel before attaching the top panel. The same glue used to attach the top panel also secures the pin in place. The glue is applied so that it bonds to the upper part of the pin. If the pin were protruding above the surface, the panel would not sit flat and attach properly, so the pin is set slightly below the surface.
This panel, which can move in either direction, is one of the unique features of this box, but it also makes the manufacturing process much more difficult. In a typical Japanese puzzle box, the movement is usually limited to one direction. Because of that, each part is held in place by another component on the side where it is not supposed to move. This makes operations such as sanding, fitting, and attaching parts much easier. The parts can simply be pressed firmly against one side while working on them. With this box, however, the panel is positioned in the middle of its travel and can move in either direction. As a result, extra care is required during machining and assembly to make sure the panel does not shift out of position.