The humidity finally dropped a little today, and the sun appeared from time to time. I had hoped to attach the final side panel to the special-order boxes first thing in the morning, but I decided to wait until the afternoon when the humidity would be lower. Instead, I spent the morning making the top and bottom panels for the 4-Compartment Boxes and also making the pins that will be attached beneath those panels. I also test-fitted the Aruki sliding panels and found that they would work better if they were about 0.5 mm narrower, so I made that adjustment before attaching them. This box requires more delicate adjustment than a typical Japanese puzzle box. The top panel must not only slide open, but it must also be held securely by pins so that it cannot fall out. Because of this, the fit of the panel requires especially careful tuning.
For this box, I am not using the production method that I have adopted in recent years. Instead, I am attaching the side panels separately, which makes it easier to adjust the top and bottom panels later in the process. With a typical Japanese puzzle box, the lid panel can be removed, so adjustments can still be made afterward if necessary. This box is different, however, because the panel cannot be removed once it is installed. That means the fit must be adjusted as accurately as possible before final assembly. Even so, small changes in panel movement can still occur due to humidity and differences in the environment. This is especially true at this time of year.
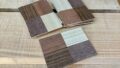
The photo shows the completed Aruki panels. As the final step, I drilled the holes for the pins that will be attached to the top and bottom panels. These holes are made to fit the pins closely, with just a small amount of clearance. Since the pins are 3 mm in diameter, the holes are approximately 3.2 mm wide. The pins must pass through the slots in both the axis panel and the divider panel, so the holes need to be positioned precisely in the center. Although I use a drill press for this operation, the workpiece is still held by hand, so small deviations can occur. In some cases, the hole may end up about 1 mm off position. Drilling is one of the more difficult operations when high accuracy is required. For that reason, the slots are made with a little extra clearance to accommodate these small variations.
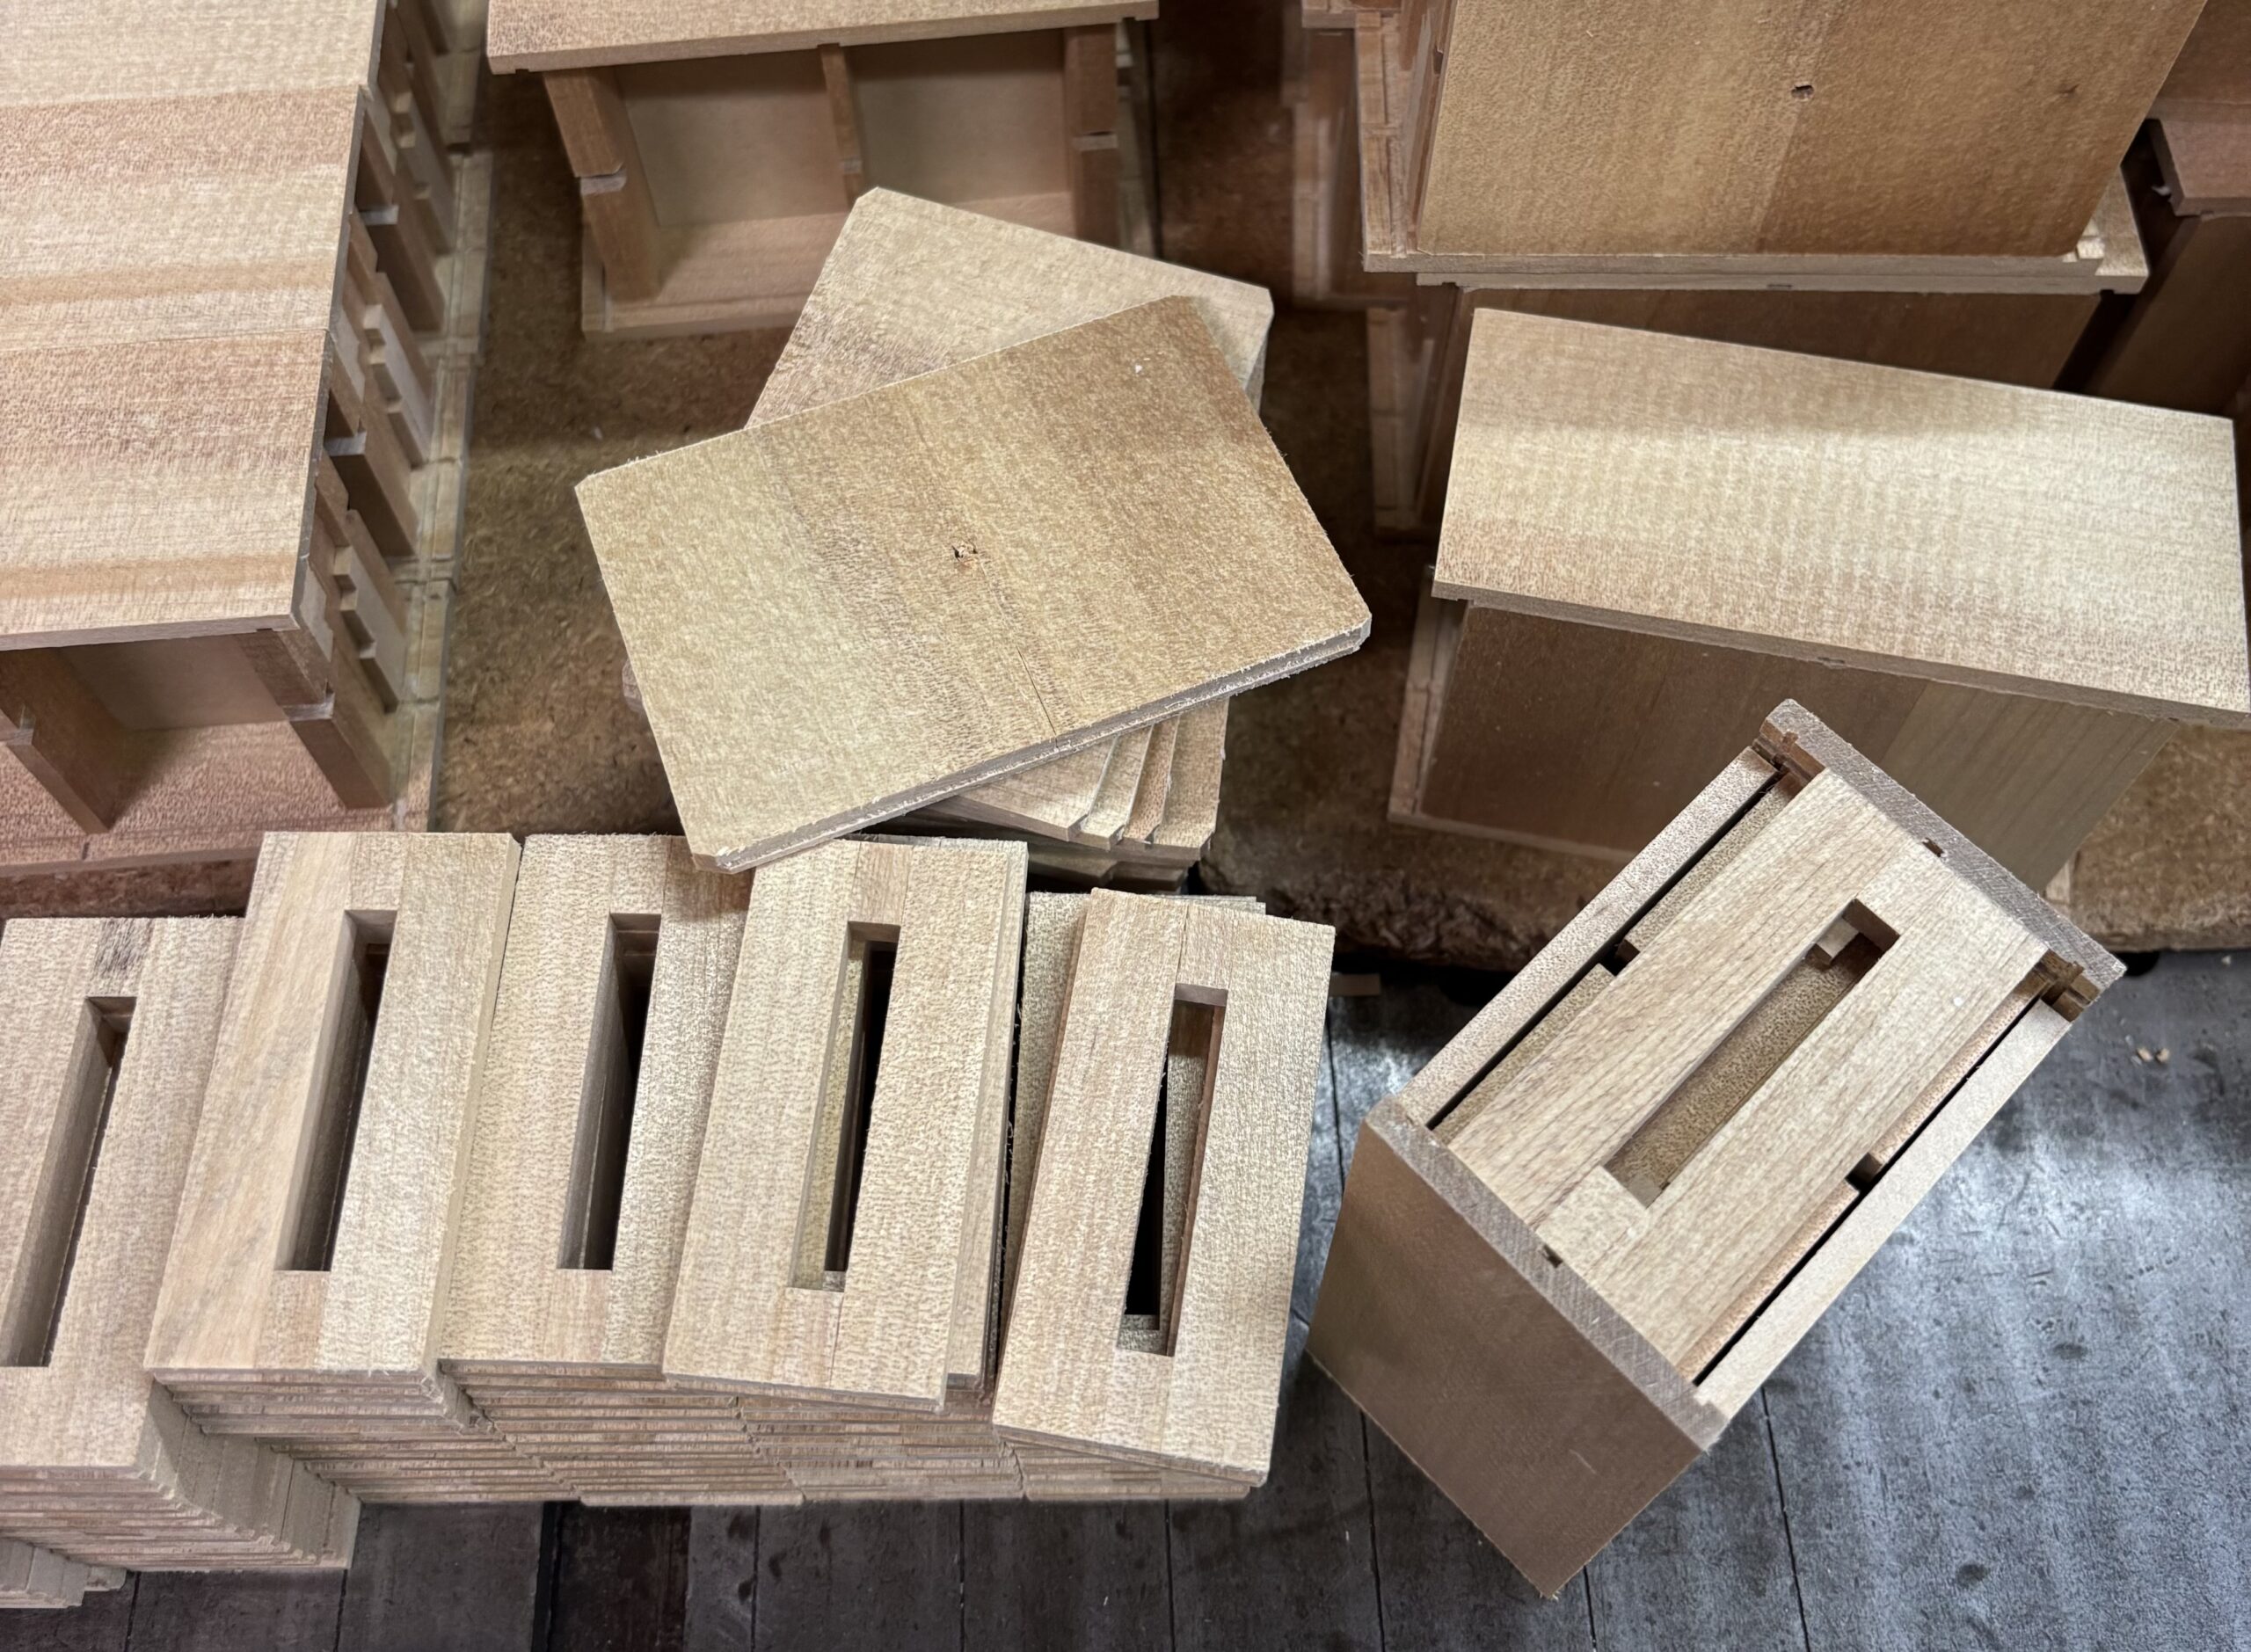
I also made the top and bottom panels today, but unfortunately I did not get as far as attaching them. If possible, I plan to do the finishing work on the special-order boxes tomorrow, so I may be able to attach the panels in between those tasks. Looking at the photo, this box seems much more mechanical and complex than a traditional Japanese puzzle box… haha. The mechanism itself is actually quite simple, but it is a difficult box to make for many reasons. One reason is that there is very little room for adjustment in the design. In a typical puzzle box, it is often possible to leave a small amount of extra clearance so that the mechanism will move smoothly. This box does not allow much of that. By “room for adjustment,” I mean leaving a small amount of clearance in the mechanism so that it can move smoothly. Because these mechanisms are made from natural wood and operate with movements measured in millimeters, this kind of consideration is necessary.