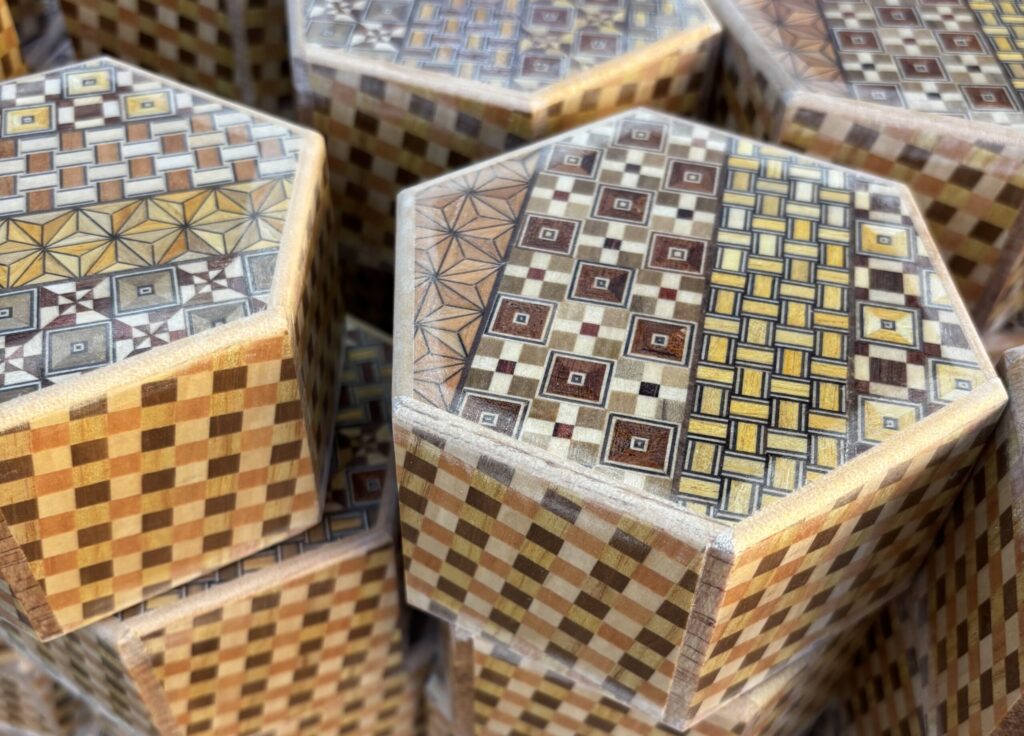
Today was another calm and sunny day, though it got a bit warm during the day. I went out for a while, but I also worked on a few things while I was at the workshop. By this evening, I finished the work on the hexagonal boxes I’ve been making. “Finished” means the coating process is done, and next I will check the movement of the mechanism. As I mentioned yesterday, there were one or two boxes where the movement didn’t work properly, but they have been fixed, and for now, I have the same number of finished pieces as I started with. From what I can see, there don’t seem to be any other major problems, so I hope everything will be completed smoothly from here.The photo below shows the hexagonal box just before polishing. I will sand it with fine sandpaper and then apply the top coat.
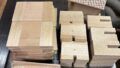
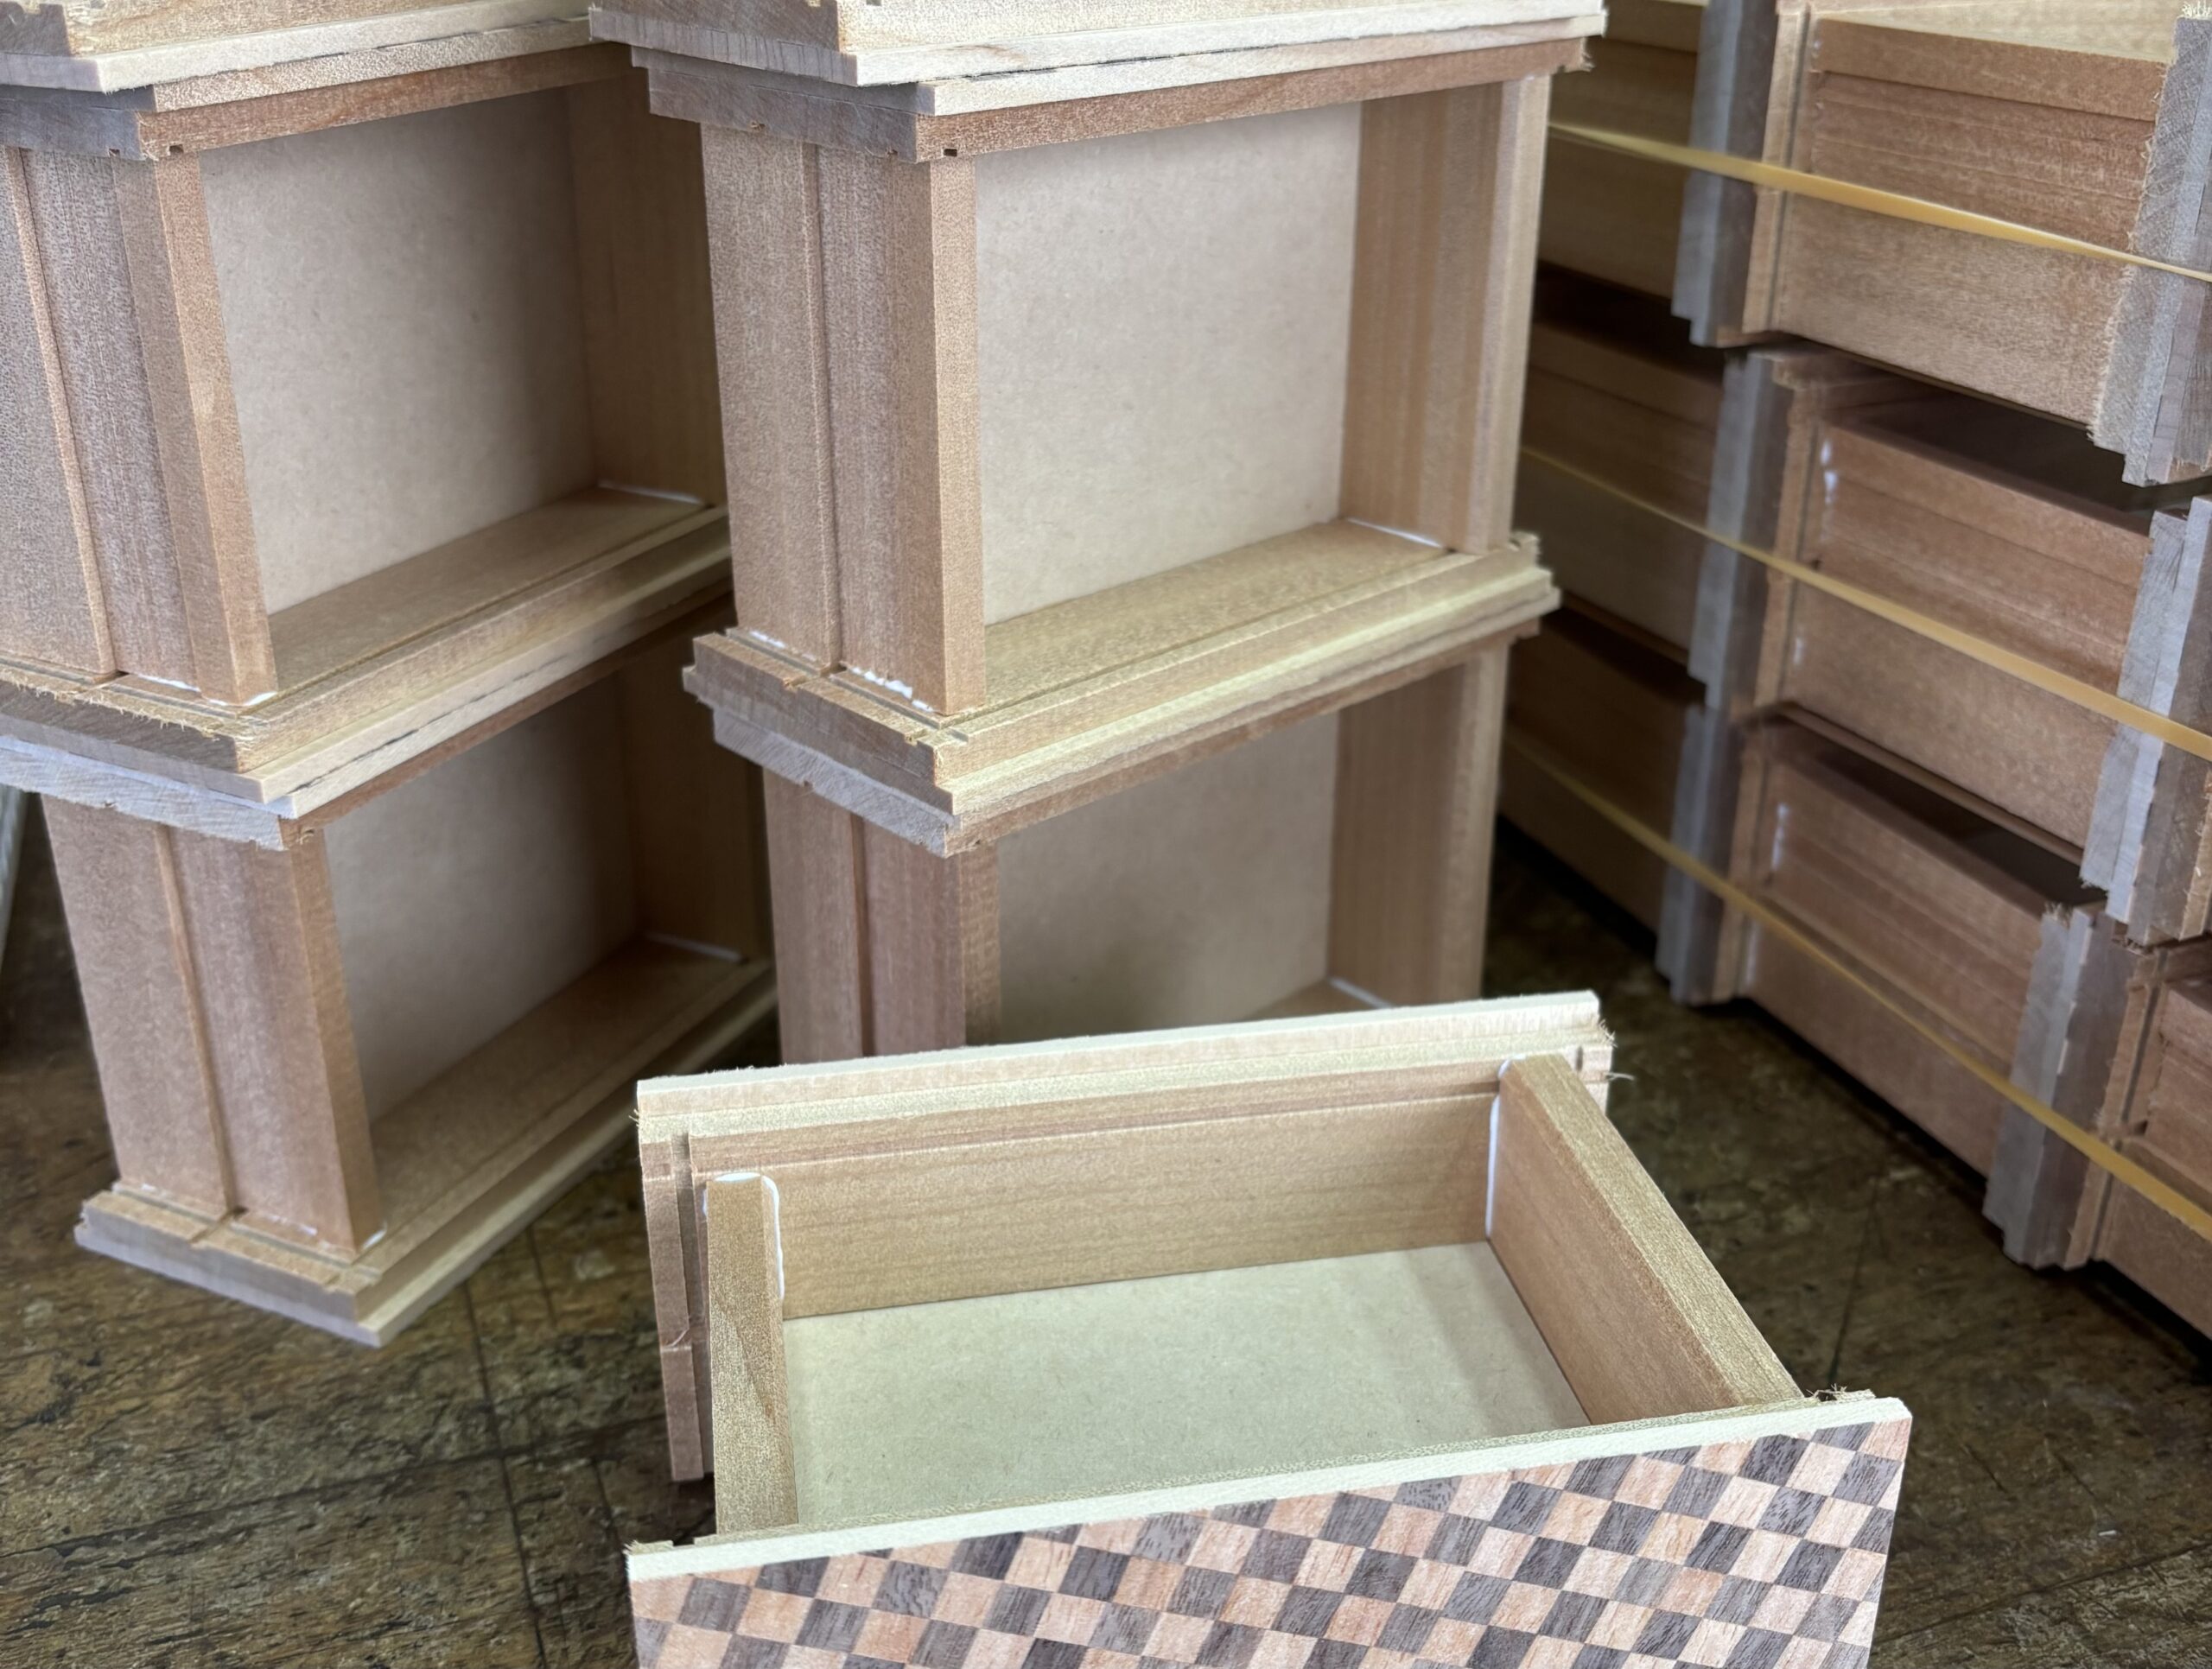
I haven’t made much progress recently because I’ve had a lot of other things to do, but starting today, I began assembling the 5-sun drawer 10-step box. First, I assembled the frame using the side panels, the axis panels, and the MDF board for the internal divider that I had already prepared. I haven’t attached the other parts yet, so I plan to do that tomorrow. I also plan to work on making the Aruki sliding panels, so I will probably do it alongside that work. Now that I think about it, I prepared the base for the top Aruki panel (the “hashibami” panel) quite a while ago. Normally, a board might warp over time, but since it has been made using the hashibami method, it hasn’t warped at all even after being left as it is.
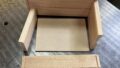
The divider panel placed in the middle of this frame separates the upper storage space from the lower drawer space. It fits into grooves cut into the side panels. This groove is made slightly looser than the thickness and width of the panel, so it does not interfere with the bonding of the axis panels and the side panels. The width of the axis panels must be exactly the same for every piece, as this part greatly affects how the mechanism works. If the divider panel fits too tightly into the groove, it can cause resistance, weakening the bonding between the axis and side panels. On the other hand, if the divider panel is too wide, it will get in the way and prevent the axis and side panels from fitting together properly. So, although I usually rely on my feel for this, I cut the divider panel about 0.2 to 0.3 mm smaller in both thickness and width than the exact size of the groove. Next is the length of the panel (along the long side). There is no groove here, so it is cut to fit closely between the front and back axis panels. However, if it is too tight, it can push against the axis panels, so I leave just a very small amount of clearance. This is also something I judge by feel, but it is probably about 0.1 mm. If it is too loose, a gap will appear between the axis panels and the divider, which does not look good. So I am careful not to make it too loose either.