The weather was not very good from the morning today, with occasional light rain. Right now I’m at a transition point between projects, so the humidity didn’t affect my work much. Starting today, I began making parts for the hexagonal puzzle boxes. First, I cut out the top and bottom panels of the hexagonal boxes (which are similar to the side panels in a standard Japanese puzzle box), and then made the grooves for the Aruki sliding panels. After that, I worked on making the axis panels and assembling them to match.
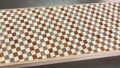
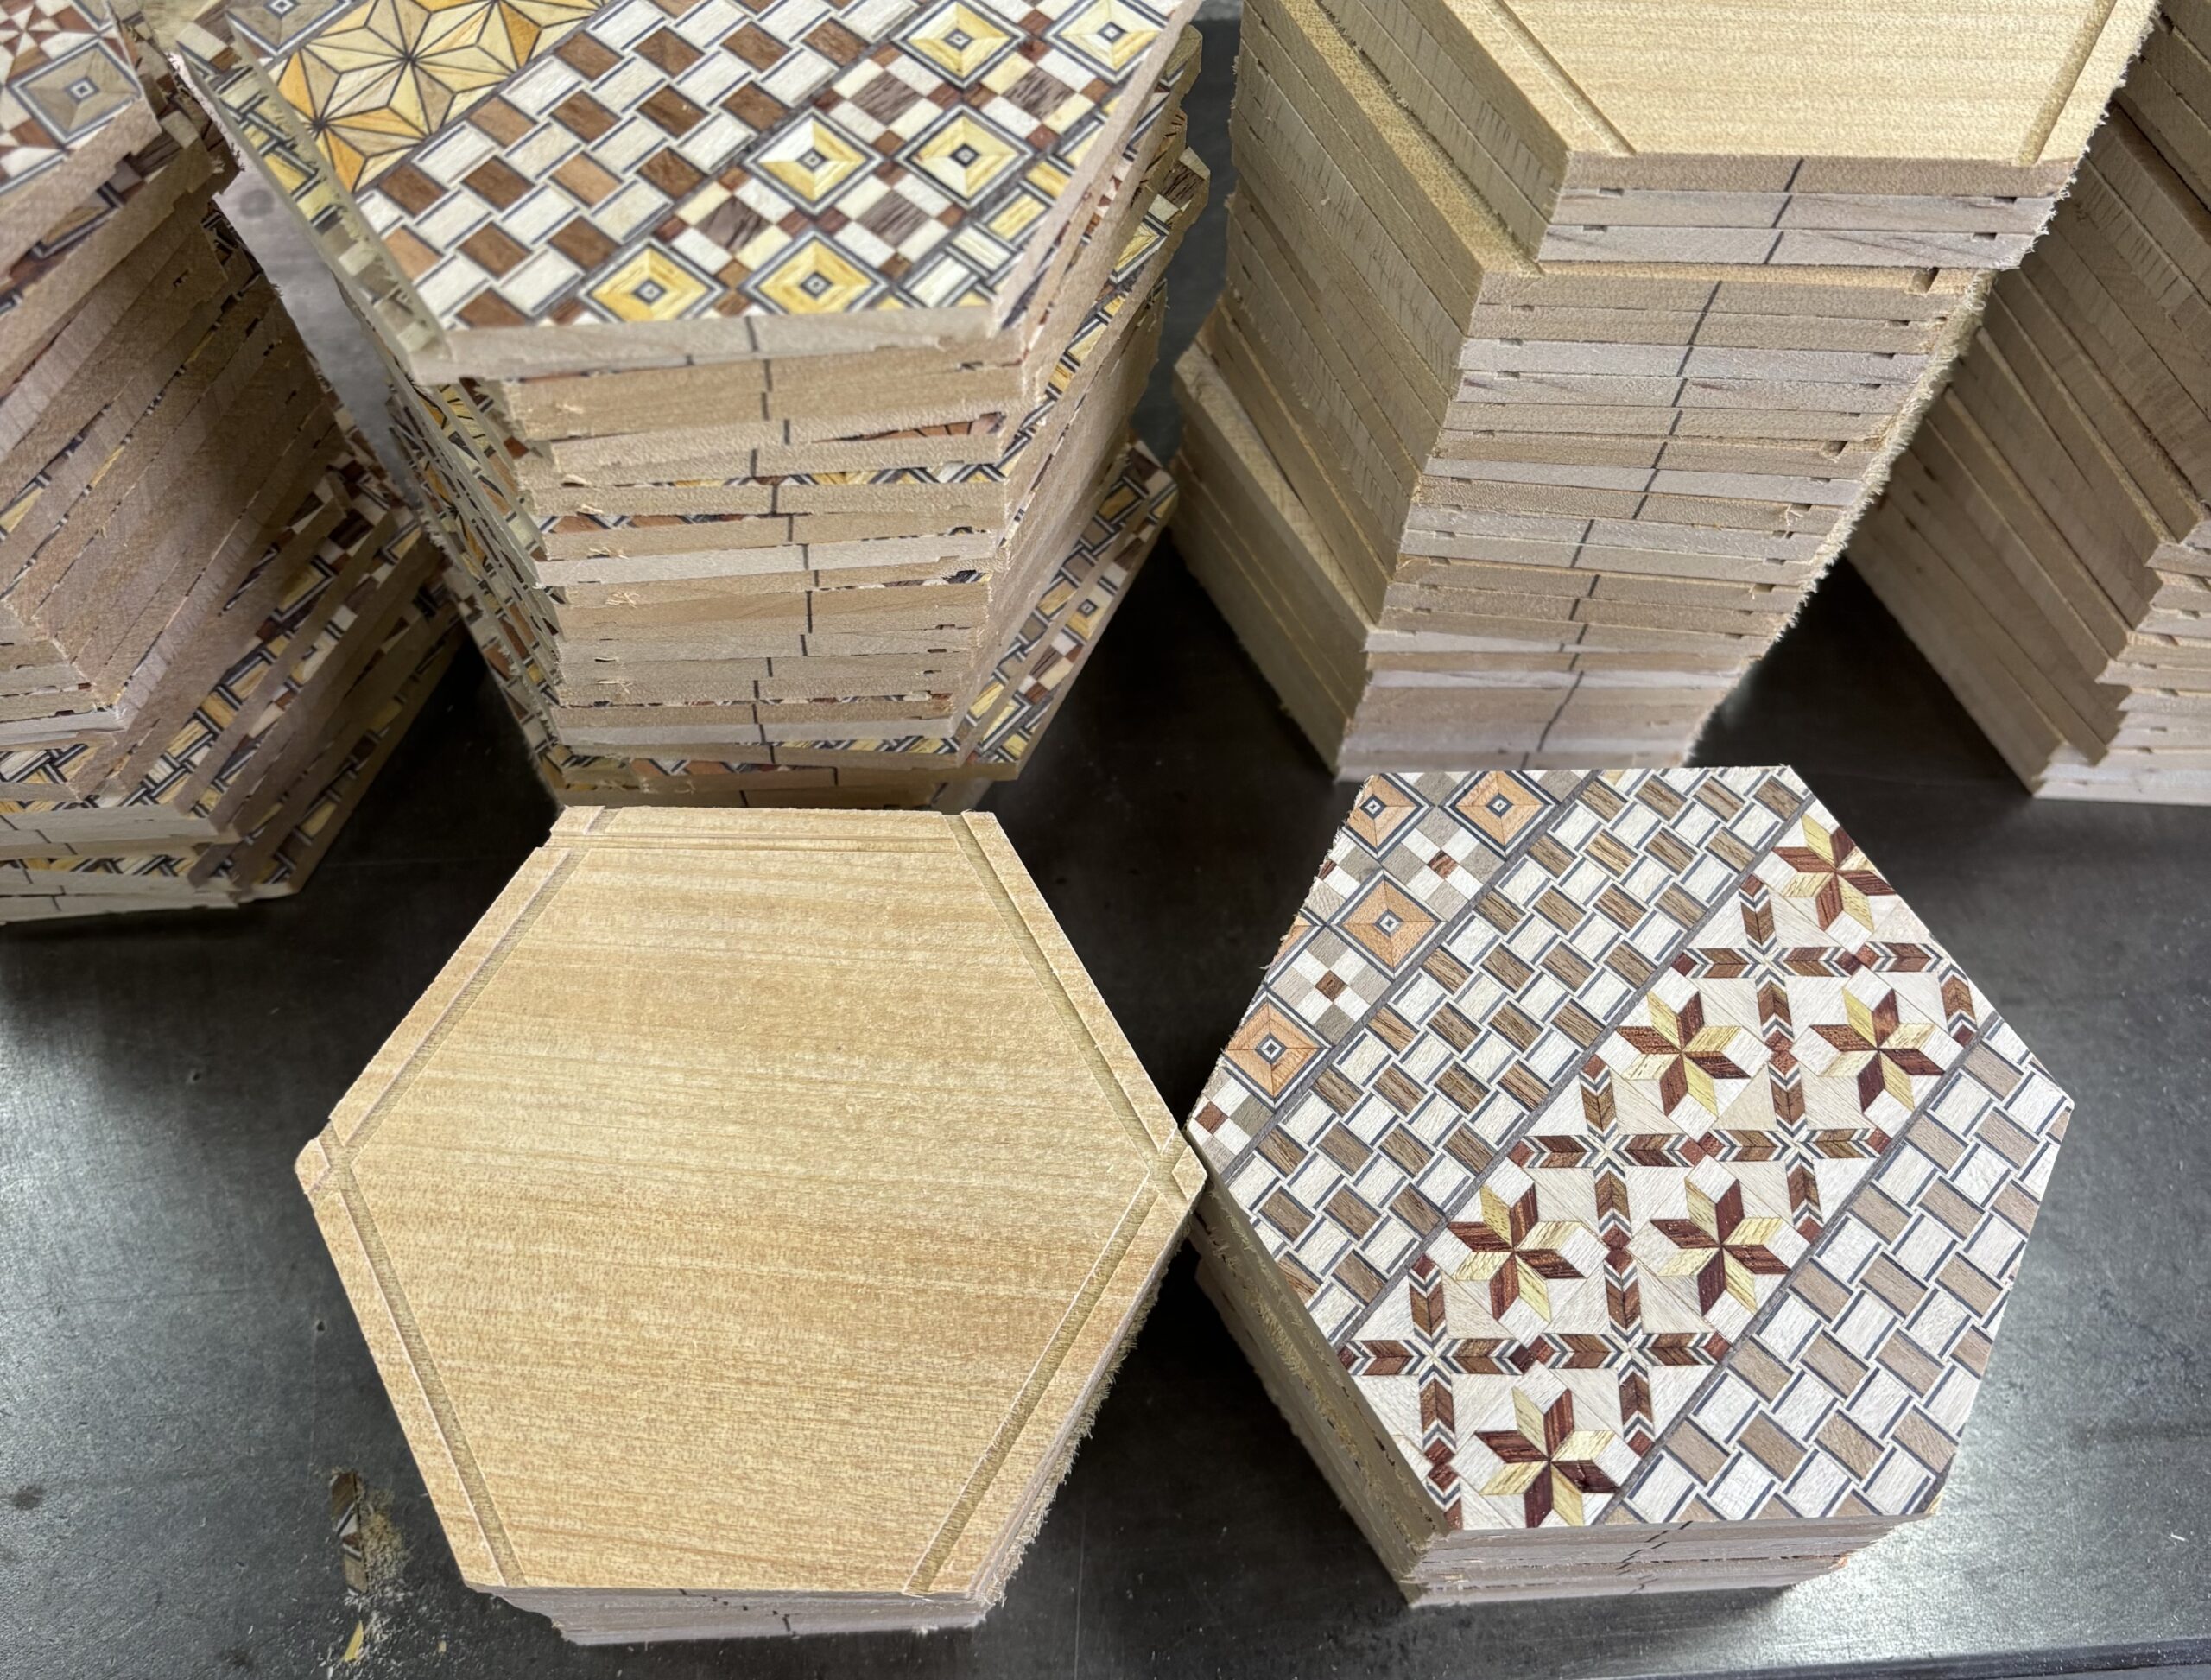
The photo shows me cutting out the hexagonal panels. First, I cut them into squares, and then I cut off the corners to make the hexagon shape. At this stage, I carefully check the angles and the length of each side, and I try to cut them as accurately as possible. But when the top and bottom panels are assembled together, very small differences still happen. If there is a misalignment, gaps can appear later when attaching the final side panels. So before attaching those side panels, after fitting the Aruki panels, I shave the surface and adjust the shape. I keep this adjustment as small as possible, without changing the hexagonal shape too much. Because of this, accuracy in cutting out these panels and assembling the frame panels is very important.
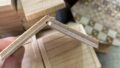
Before assembling the frame, I need to make the axis panels. The axis panel for this hexagonal box is bent at about 30 degrees, and like a standard Japanese puzzle box, two of them are used in one box. It’s difficult to make this bent shape from a single piece, so I create it by joining two parts together. The joint between these two parts is cut at an angle, so that when they are combined, they form the 30-degree bend. To assemble the axis panel, I simply apply glue and join the parts. There is no need to use rubber bands or clamps to apply pressure. Later, everything will be fixed in place by the top and bottom hexagonal panels, so the strength of this joint is not a big concern.